- NHibernate Tutorial
- NHibernate - Home
- NHibernate - Overview
- NHibernate - Architecture
- NHibernate - Orm
- NHibernate - Environment Setup
- NHibernate - Getting Started
- NHibernate - Basic Orm
- NHibernate - Basic Crud Operations
- NHibernate - Profiler
- Add Intelliesnse To Mapping File
- NHibernate - Data Types Mapping
- NHibernate - Configuration
- NHibernate - Override Configuration
- NHibernate - Batch Size
- NHibernate - Caching
- NHibernate - Mapping Component
- NHibernate - Relationships
- NHibernate - Collection Mapping
- NHibernate - Cascades
- NHibernate - Lazy Loading
- NHibernate - Inverse Relationships
- NHibernate - Load/Get
- NHibernate - Linq
- NHibernate - Query Language
- NHibernate - Criteria Queries
- NHibernate - QueryOver Queries
- NHibernate - Native Sql
- NHibernate - Fluent Hibernate
- NHibernate Useful Resources
- NHibernate - Quick Guide
- NHibernate - Useful Resources
- NHibernate - Discussion
NHibernate - Environment Setup
To start working on NHibernate, we will need Visual Studio and the NHibernate package.
Visual Studio Installation
Microsoft provides a free version of Visual Studio, which also contains SQL Server and it can be downloaded from https://www.visualstudio.com Following are the steps for the installation.
Step 1 − Once the downloading is completed then run the installer, then the following dialog box will be displayed.
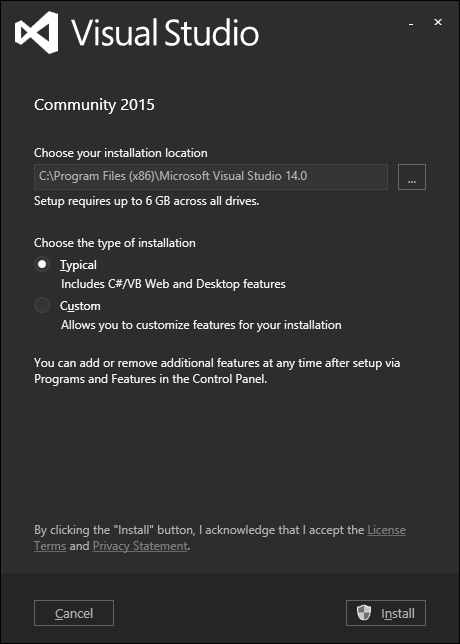
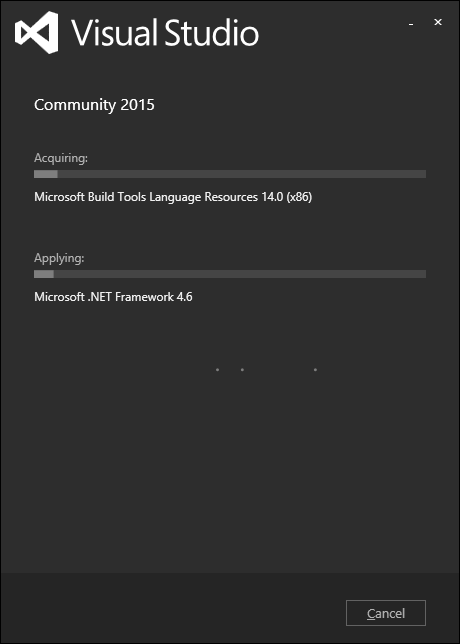
Step 2 − Click on the Install button and it will start installation process.
Step 3 − Once the installation process is completed successfully, you will see the following dialog box.
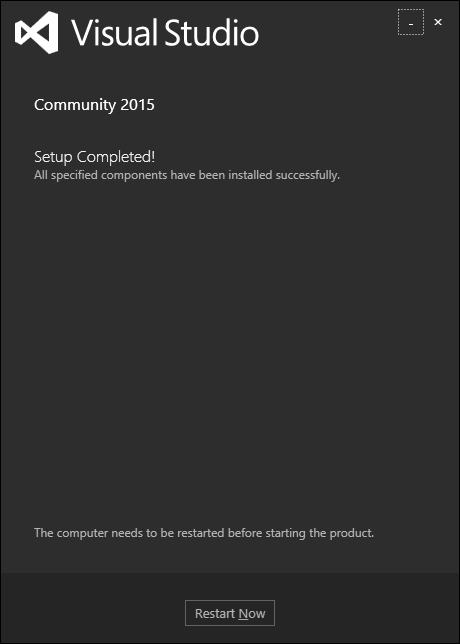
Step 4 − Close this dialog box and restart your computer if required.
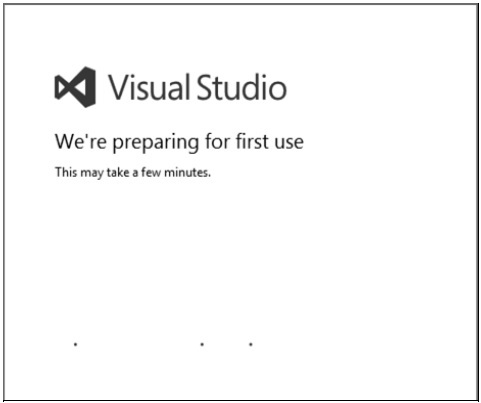
Step 5 − Now open Visual studio from the Start Menu which will open the following dialog. It will take some time for the first time for preparation.
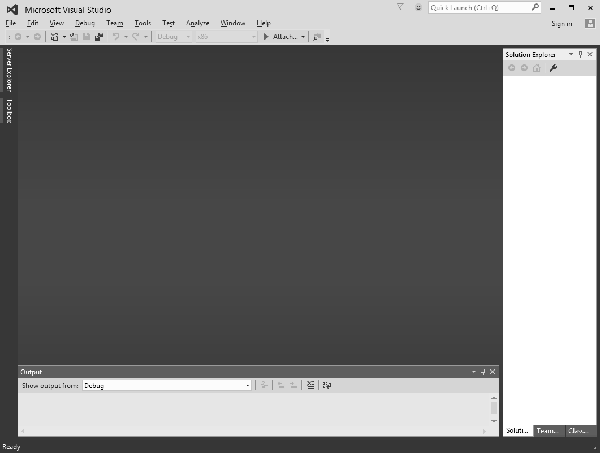
Step 6 − Once all this is done, you will see the main window of Visual Studio.
NHibernate Package Installation
NHibernate is a mature, open source object-relational mapper for the .NET framework. It is actively developed, fully featured and used in thousands of successful projects. You can install NHibernate package with the following methods.
Direct Download
Download the zip from file from https://sourceforge.net/ which contains all the binaries that are required.
Extract this zip file and include all these binaries in your project.
Install Using NuGet
Another way of installing NHibernate is to use NuGet to install the NHibernate package, which is by far the easiest way to incorporate NHibernate into a project.
It's going to download all the NHibernate dependencies and create references to all of the required assemblies.
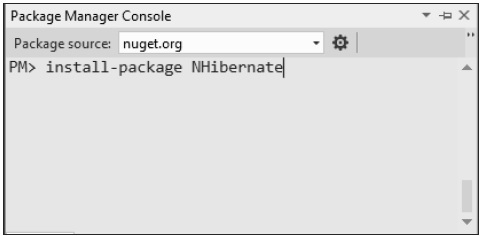
To install NHibernate, run the following command in the Package Manager Console.
install-package NHibernate
You are now ready to start your application.