- NativeScript Tutorial
- NativeScript - Home
- NativeScript - Introduction
- NativeScript - Installation
- NativeScript - Architecture
- NativeScript - Angular Application
- NativeScript - Templates
- NativeScript - Widgets
- NativeScript - Layout Containers
- NativeScript - Navigation
- NativeScript - Events Handling
- NativeScript - Data Binding
- NativeScript - Modules
- NativeScript - Plugins
- NativeScript - Native APIs Using JavaScript
- NativeScript - Creating an Application in Android
- NativeScript - Creating an Application in iOS
- NativeScript - Testing
- NativeScript Useful Resources
- NativeScript - Quick Guide
- NativeScript - Useful Resources
- NativeScript - Discussion
NativeScript - Creating an Application in Android
Create and publish your app makes your Android application available to all users. Google Play is a robust publishing platform. It helps you to publish and distribute your Android applications to all the users around the whole world. This chapter explains about how to publish your Native app in Google Play.
NativeScript Sidekick
SideKick is a GUI client and supports all kind of OS. It simplifies NativeScript CLI process and helps to create mobile application.
Publish your app from Sidekick to Google Play Console
Downloading and installing sidekick depends on your OS. Follow the below steps to run your app in Sidekick.
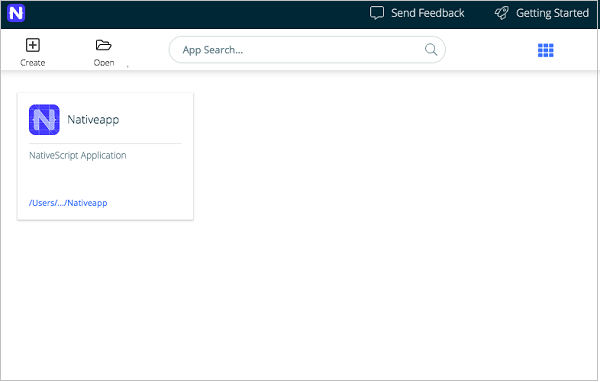
Step 1: Launch Sidekick
Let us Launch Sidekick. It looks similar to the below image −
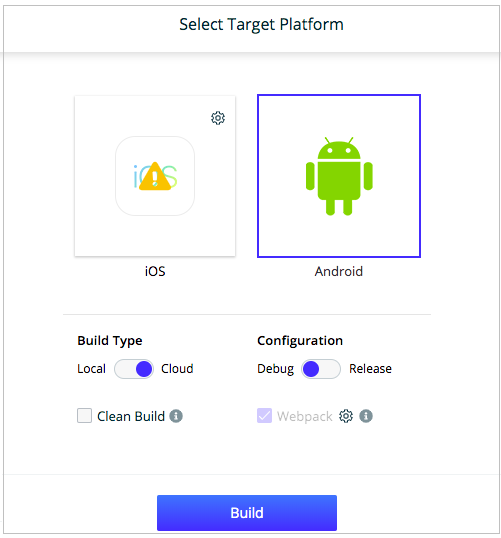
Step 2: Build your device
Now, open your app from your device and select build option from the toolbar and select Android. You will get a response similar to the below image −
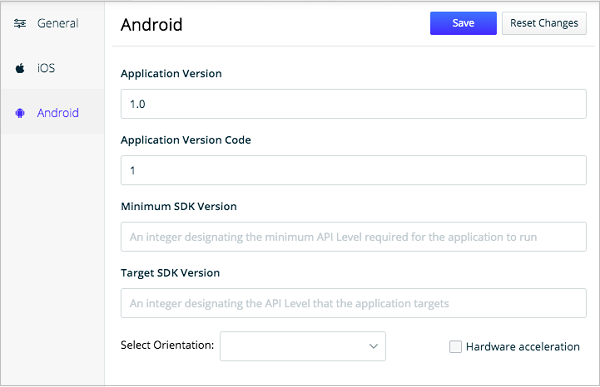
Step 3: Properties
Click properties tab and add your android configuration. Screen looks similar to the below one −
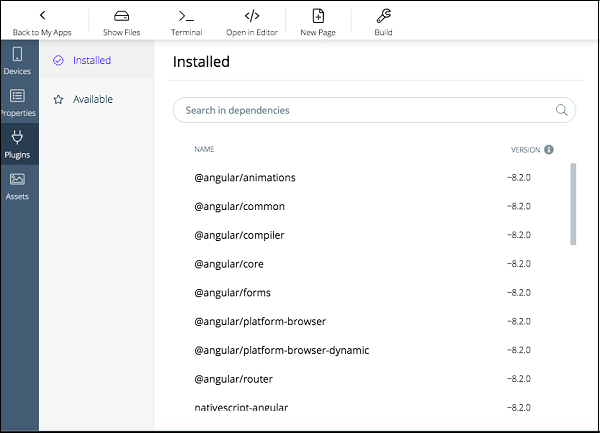
Step 4: Plugins
Sidekick helps to find which plugins you depend on for your application. Click on plugins tab and it will list out the following −
Step 5: Android Certificates
Click cogwheel icon from android and choose browse option, then select a certificate stored on your file system. It is shown below −
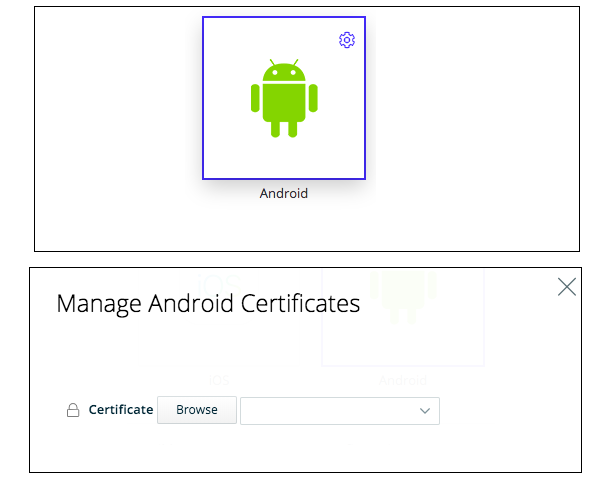
After selecting that, close the dialog box.
Step 6: Build your application
Finally click local build option from build type and select release option from configuration. After that build your application.
Step 7: Application package
Once build is completed, it will generate a path and apk file. Save the location of the application package. This apk file is used to upload it to the Google Play store.
Step 8: Publish in Google Play
Select publish option from the toolbar and select Google Play. Then, add Manage Android Certificates for Google Play Store dialog. It is shown below −
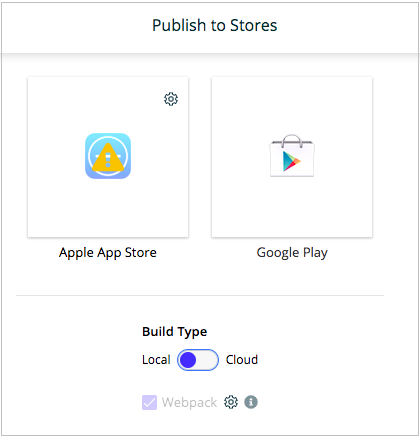
After that, select Build type and provide Service Account JSON key then select Alpha, Beta or Production tracks finally click upload.
Publish your app in Google Play
To publish your app in Google Play console, you must meet the following prerequisites.
Prerequisites
You must be registered in Google Play
You have a valid Google Play self-signed code signing identity
Procedure for publish your app
Below steps are helpful to understand how to release your app in Google Play store.
Step 1: Login Google Play console
Open Google Play console and login with your account.
Step 2: Create an app
Go to the All applications tab and click Create Application and create a new app. Now, add default language,application title finally click proceed to go further.
Step 3: Fill required fields
Move to store listing tab and fill the required fields, then complete the needed assets and save all the changes.
Step 4: Price and distribution
Go to Pricing & distribution tab, complete all the settings and save all the changes.
Step 5: Release your app
Choose App releases tab and select Alpha, Beta. It is used for testing your application. And, select Production tracks. It is used for publishing your app to Google Play. Finally add the application package (apk).
Step 6: Review your app
This is your final step. In the Review, verify if there are any issues. If no issues, then confirm rollout to publish your app.