- MVVM Tutorial
- MVVM - Home
- MVVM – Introduction
- MVVM - Advantages
- MVVM - Responsibilities
- MVVM - First Application
- MVVM - Hooking Up Views
- MVVM - Hooking Up ViewModel
- MVVM - WPF Data Bindings
- MVVM - WPF Data Templates
- MVVM - ViewModel Communication
- MVVM - Hierarchies & Navigation
- MVVM - Validations
- MVVM - Dependency Injection
- MVVM - Events
- MVVM - Unit Testing
- MVVM - Frameworks
- MVVM - Interview Questions
- MVVM Useful Resources
- MVVM - Quick Guide
- MVVM - Useful Resources
- MVVM - Discussion
MVVM – First Application
In this chapter, we will learn how to use MVVM patterns for simple input screen and the WPF application that you may already be used to.
Let’s have a look at a simple example in which we will be using MVVM approach.
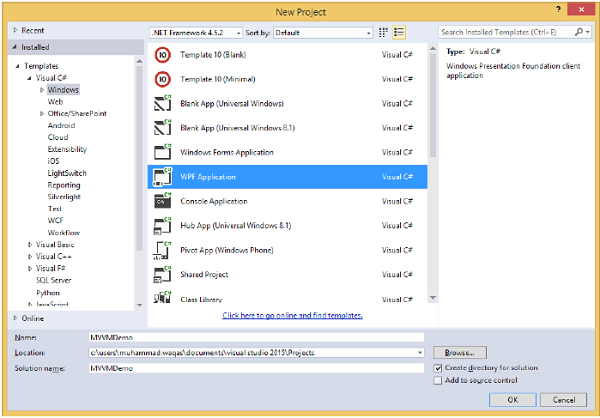
Step 1 − Create a new WPF Application project MVVMDemo.
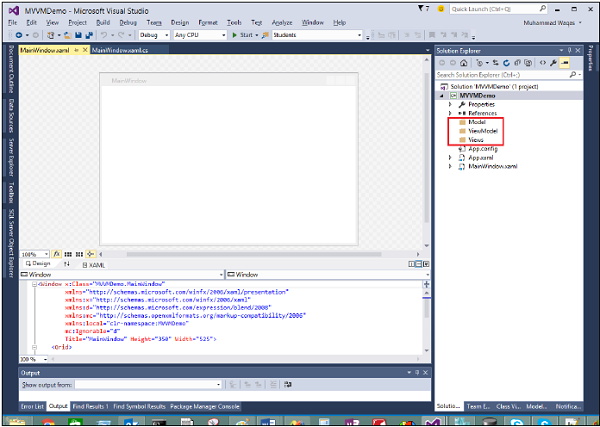
Step 2 − Add the three folders (Model, ViewModel, and Views) into your project.
Step 3 − Add a StudentModel class in the Model folder and paste the below code in that class
using System.ComponentModel;

namespace MVVMDemo.Model {

   public class StudentModel {}

   public class Student : INotifyPropertyChanged {
      private string firstName;
      private string lastName;

      public string FirstName {
         get {
            return firstName;
         }

         set {
            if (firstName != value) {
               firstName = value;
               RaisePropertyChanged("FirstName");
               RaisePropertyChanged("FullName");
            }
         }
      }

      public string LastName {
         get {return lastName; }

         set {
            if (lastName != value) {
               lastName = value;
               RaisePropertyChanged("LastName");
               RaisePropertyChanged("FullName");
            }
         }
      }

      public string FullName {
         get {
            return firstName + " " + lastName;
         }
      }

      public event PropertyChangedEventHandler PropertyChanged;

      private void RaisePropertyChanged(string property) {
         if (PropertyChanged != null) {
            PropertyChanged(this, new PropertyChangedEventArgs(property));
         }
      }
   }
}
Step 4 − Add another StudentViewModel class into ViewModel folder and paste the following code.
using MVVMDemo.Model;
using System.Collections.ObjectModel;

namespace MVVMDemo.ViewModel {

   public class StudentViewModel {

      public ObservableCollection<Student> Students {
         get;
         set;
      }

      public void LoadStudents() {
         ObservableCollection<Student> students = new ObservableCollection<Student>();

         students.Add(new Student { FirstName = "Mark", LastName = "Allain" });
         students.Add(new Student { FirstName = "Allen", LastName = "Brown" });
         students.Add(new Student { FirstName = "Linda", LastName = "Hamerski" });

         Students = students;
      }
   }
}
Step 5 − Add a new User Control (WPF) by right click Views folder and Select Add > New Item…
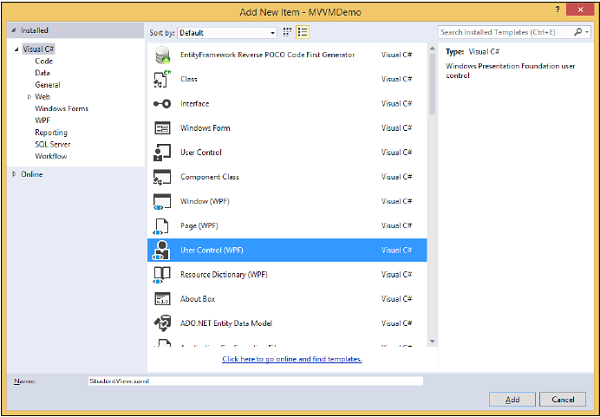
Step 6 − Click Add button. Now you will see the XAML file. Add the following code into StudentView.xaml file which contains different UI elements.
<UserControl x:Class = "MVVMDemo.Views.StudentView"
   xmlns = "http://schemas.microsoft.com/winfx/2006/xaml/presentation"
   xmlns:x = "http://schemas.microsoft.com/winfx/2006/xaml"
   xmlns:mc = "http://schemas.openxmlformats.org/markup-compatibility/2006"
   xmlns:d = "http://schemas.microsoft.com/expression/blend/2008"
   xmlns:local = "clr-namespace:MVVMDemo.Views"
   mc:Ignorable = "d"
   d:DesignHeight = "300" d:DesignWidth = "300">

   <Grid>
      <StackPanel HorizontalAlignment = "Left">

         <ItemsControl ItemsSource = "{Binding Path = Students}">

            <ItemsControl.ItemTemplate>
               <DataTemplate>
                  <StackPanel Orientation = "Horizontal">
                     <TextBox Text = "{Binding Path = FirstName, Mode = TwoWay}"
                        Width = "100" Margin = "3 5 3 5"/>

                     <TextBox Text = "{Binding Path = LastName, Mode = TwoWay}"
                        Width = "100" Margin = "0 5 3 5"/>

                     <TextBlock Text = "{Binding Path = FullName, Mode = OneWay}"
                        Margin = "0 5 3 5"/>

                  </StackPanel>
               </DataTemplate>
            </ItemsControl.ItemTemplate>

         </ItemsControl>

      </StackPanel>
   </Grid>

</UserControl>
Step 7 − Now add the StudentView into your MainPage.xaml file using the following code.
<Window x:Class = "MVVMDemo.MainWindow"
   xmlns = "http://schemas.microsoft.com/winfx/2006/xaml/presentation"
   xmlns:x = "http://schemas.microsoft.com/winfx/2006/xaml"
   xmlns:d = "http://schemas.microsoft.com/expression/blend/2008"
   xmlns:mc = "http://schemas.openxmlformats.org/markup-compatibility/2006"
   xmlns:local = "clr-namespace:MVVMDemo"
   xmlns:views = "clr-namespace:MVVMDemo.Views"
   mc:Ignorable = "d"
   Title = "MainWindow" Height = "350" Width = "525">

   <Grid>
      <views:StudentView x:Name = "StudentViewControl" Loaded = "StudentViewControl_Loaded"/>
   </Grid>

</Window>
Step 8 − Here is the implementation for Loaded event in the MainPage.xaml.cs file, which will update the View from the ViewModel.
using System.Windows;

namespace MVVMDemo {

   /// <summary>
      /// Interaction logic for MainWindow.xaml
   /// </summary>

   public partial class MainWindow : Window {

      public MainWindow() {
         InitializeComponent();
      }

      private void StudentViewControl_Loaded(object sender, RoutedEventArgs e) {
         MVVMDemo.ViewModel.StudentViewModel studentViewModelObject =
            new MVVMDemo.ViewModel.StudentViewModel();
         studentViewModelObject.LoadStudents();

         StudentViewControl.DataContext = studentViewModelObject;
      }
   }
}
Step 9 − When the above code is compiled and executed, you will receive the following output on your main window.
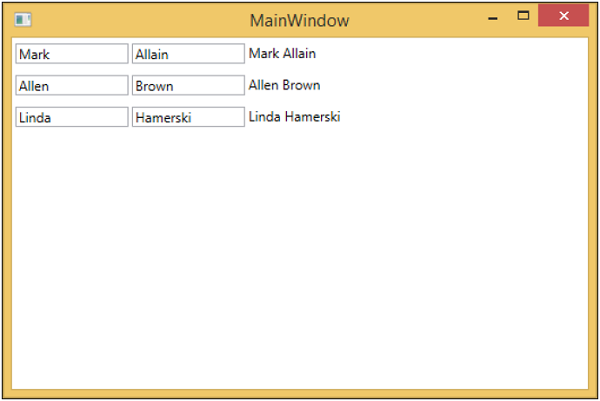
We recommend you to execute the above example in a step-by-step manner for better understanding.