- MFC Tutorial
- MFC - Home
- MFC - Overview
- MFC - Environment Setup
- MFC - VC++ Projects
- MFC - Getting Started
- MFC - Windows Fundamentals
- MFC - Dialog Boxes
- MFC - Windows Resources
- MFC - Property Sheets
- MFC - Windows Layout
- MFC - Controls Management
- MFC - Windows Controls
- MFC - Messages & Events
- MFC - Activex Controls
- MFC - File System
- MFC - Standard I/O
- MFC - Document View
- MFC - Strings
- MFC - Carray
- MFC - Linked Lists
- MFC - Database Classes
- MFC - Serialization
- MFC - Multithreading
- MFC - Internet Programming
- MFC - GDI
- MFC - Libraries
- MFC Useful Resources
- MFC - Quick Guide
- MFC - Useful Resources
- MFC - Discussion
MFC - Progress Bars
Besides the Progress control, Visual C++ provides two other progress-oriented controls −
- The Microsoft Progress Control Version 5.0
- The Microsoft Progress Control Version 6.0
The main difference is in their ability to assume one or two orientations.
Let us look into a simple example.
Step 1 − Right-click on the dialog in the designer window.
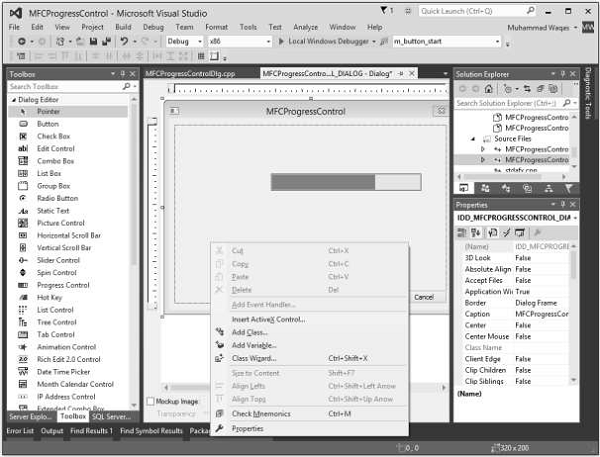
Step 2 − Select Insert ActiveX Control.

Step 3 − Select the Microsoft ProgressBar Control 6.0 and click OK
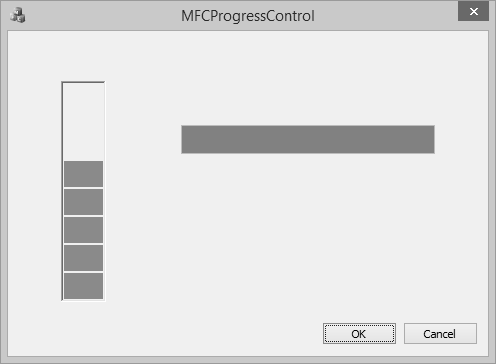
Step 4 − Select the progress bar and set its Orientation in the Properties Window to 1 – ccOrientationVertical
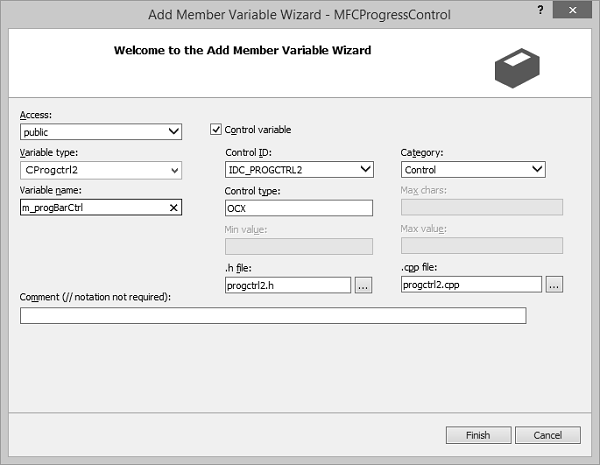
Step 5 − Add control variable for Progress bar.
Step 6 − Add the following code in the OnInitDialog()
m_progBarCtrl.SetScrollRange(0,100,TRUE);
m_progBarCtrl.put_Value(53);
Step 7 − Run this application again and you will see the progress bar in Vertical direction as well.
mfc_windows_controls.htm
Advertisements