- MFC Tutorial
- MFC - Home
- MFC - Overview
- MFC - Environment Setup
- MFC - VC++ Projects
- MFC - Getting Started
- MFC - Windows Fundamentals
- MFC - Dialog Boxes
- MFC - Windows Resources
- MFC - Property Sheets
- MFC - Windows Layout
- MFC - Controls Management
- MFC - Windows Controls
- MFC - Messages & Events
- MFC - Activex Controls
- MFC - File System
- MFC - Standard I/O
- MFC - Document View
- MFC - Strings
- MFC - Carray
- MFC - Linked Lists
- MFC - Database Classes
- MFC - Serialization
- MFC - Multithreading
- MFC - Internet Programming
- MFC - GDI
- MFC - Libraries
- MFC Useful Resources
- MFC - Quick Guide
- MFC - Useful Resources
- MFC - Discussion
MFC - File System
In this chapter, we will discuss the various components of the file system.
Drives
A drive is a physical device attached to a computer so it can store information. A logical disk, logical volume or virtual disk (VD or vdisk for short) is a virtual device that provides an area of usable storage capacity on one or more physical disk drive(s) in a computer system. A drive can be a hard disk, a CD ROM, a DVD ROM, a flash (USB) drive, a memory card, etc.
One of the primary operations you will want to perform is to get a list of drives on the computer.
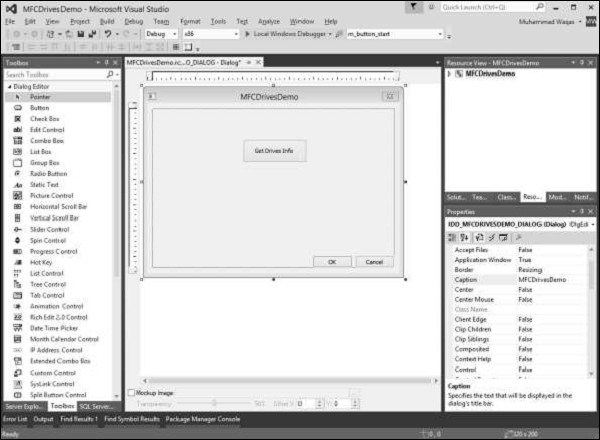
Let us look into a simple example by creating a new MFC dialog based application.
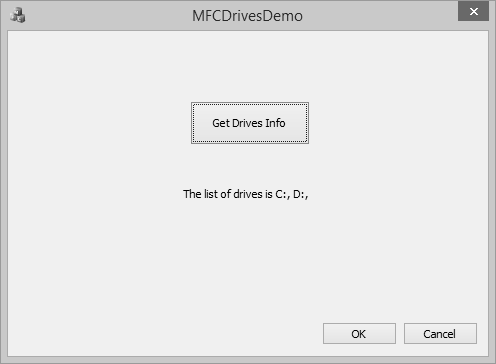
Step 1 − Drag one button from the toolbox, change its Caption to Get Drives Info.
Step 2 − Remove the Caption of Static control (TODO line) and change its ID to IDC_STATIC_TEXT.
Step 3 − Right-click on the button and select Add Event Handler.
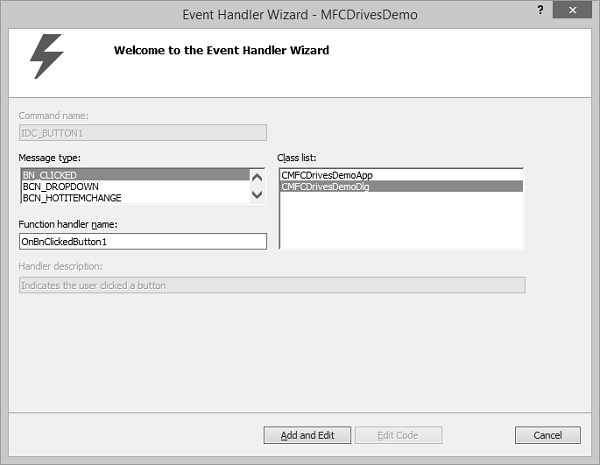
Step 4 − Select the BN_CLICKED message type and click the Add and Edit button.
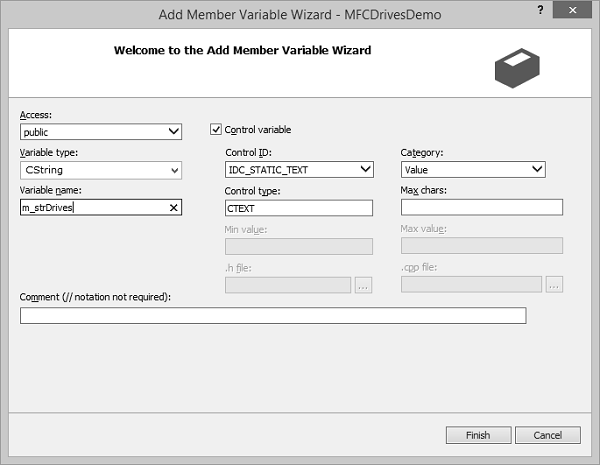
Step 5 − Add the value variable m_strDrives for Static Text control.
To support drives on a computer, the Win32 library provides the GetLogicalDrives() function of Microsoft Window, which will retrieve a list of all drives on the current computer.
Step 6 − When the above code is compiled and executed, you will see the following output.
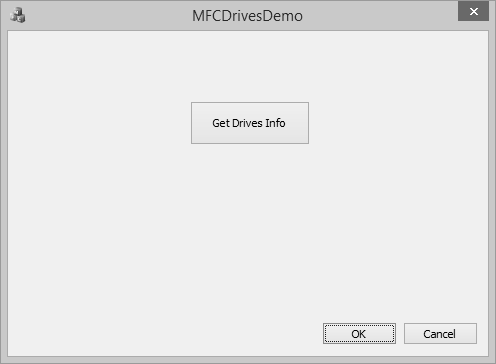
Step 7 − When you click the button, you can see all the drives on your computer.
Directories
In computing, a directory is a file system cataloging structure which contains references to other computer files, and possibly other directories. Directory is a physical location. It can handle operations not available on a drive.
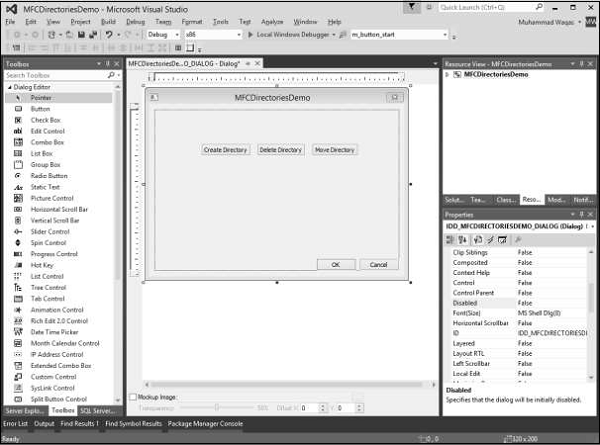
Let us look into a simple example by creating a new MFC dialog based application
Step 1 − Drag three buttons from the toolbox. Change their Captions to Create Directory, Delete Directory and Move Directory.
Step 2 − Change the IDs of these buttons to IDC_BUTTON_CREATE, IDC_BUTTON_DELETE and IDC_BUTTON_MOVE.
Step 3 − Remove the TODO line.
Step 4 − Add event handler for each button.
Step 5 − To create a directory, you can call the CreateDirectory() method of the Win32 library.
Step 6 − Here is the Create button event handler implementation in which we will create one directory and then two more sub directories.
void CMFCDirectoriesDemoDlg::OnBnClickedButtonCreate() {
   // TODO: Add your control notification handler code here
   SECURITY_ATTRIBUTES saPermissions;

   saPermissions.nLength = sizeof(SECURITY_ATTRIBUTES);
   saPermissions.lpSecurityDescriptor = NULL;
   saPermissions.bInheritHandle = TRUE;

   if (CreateDirectory(L"D:\\MFCDirectoryDEMO", &saPermissions) == TRUE)
      AfxMessageBox(L"The directory was created.");
   CreateDirectory(L"D:\\MFCDirectoryDEMO\\Dir1", NULL);
   CreateDirectory(L"D:\\MFCDirectoryDEMO\\Dir2", NULL);
}
Step 7 − To get rid of a directory, you can call the RemoveDirectory() function of the Win32 library. Here is the implementation of delete button event handler.
void CMFCDirectoriesDemoDlg::OnBnClickedButtonDelete() {
   // TODO: Add your control notification handler code here
   if (RemoveDirectory(L"D:\\MFCDirectoryDEMO\\Dir1") == TRUE)
      AfxMessageBox(L"The directory has been deleted");
}
Step 8 − If you want to move a directory, you can also call the same MoveFile() function. Here is the implementation of move button event handler in which we will create first new directory and then move the Dir2 to that directory.
void CMFCDirectoriesDemoDlg::OnBnClickedButtonMove() {
   // TODO: Add your control notification handler code here
   CreateDirectory(L"D:\\MFCDirectory", NULL);

   if (MoveFile(L"D:\\MFCDirectoryDEMO\\Dir1", L"D:\\MFCDirectory\\Dir1") == TRUE)
      AfxMessageBox(L"The directory has been moved");
}
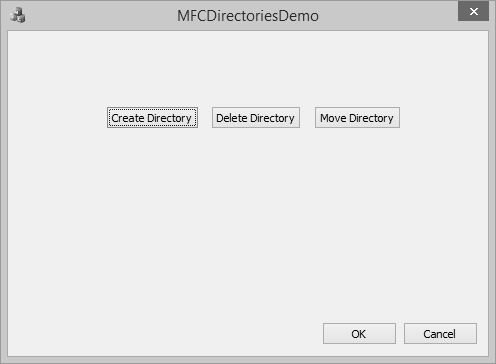
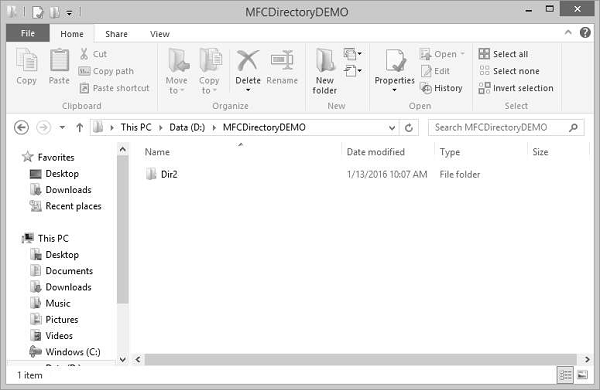
Step 9 − When the above code is compiled and executed, you will see the following output.
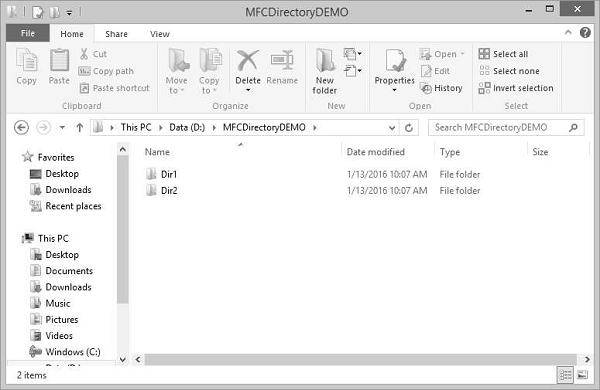
Step 10 − When you click the Create Directory button, it will create these directories.
Step 11 − When you click on Delete Directory button, it will delete the Dir1.
File Processing
Most of the file processing in an MFC application is performed in conjunction with a class named CArchive. The CArchive class serves as a relay between the application and the medium used to either store data or make it available. It allows you to save a complex network of objects in a permanent binary form (usually disk storage) that persists after those objects are deleted.
Here is the list of methods in CArchive class −
Here is the list of operators used to store and retrieve data
| Sr.No. | Name & Description |
|---|---|
| 1 | operator << Stores objects and primitive types to the archive. |
| 2 | operator >> Loads objects and primitive types from the archive. |
Let us look into a simple example by creating a new MFC dialog based application.
Step 1 − Drag one edit control and two buttons as shown in the following snapshot.
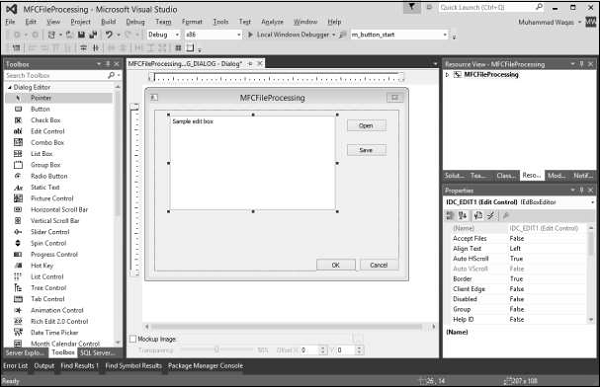
Step 2 − Add control variable m_editCtrl and value variable m_strEdit for edit control.
Step 3 − Add click event handler for Open and Save buttons.
Step 4 − Here is the implementation of event handlers.
void CMFCFileProcessingDlg::OnBnClickedButtonOpen() {
   // TODO: Add your control notification handler code here
   UpdateData(TRUE);

   CFile file;

   file.Open(L"ArchiveText.rpr", CFile::modeRead);
   if(file) {
      CArchive ar(&file, CArchive::load);

      ar >> m_strEdit;

      ar.Close();
      file.Close();
   }
   UpdateData(FALSE);
}

void CMFCFileProcessingDlg::OnBnClickedButtonSave() {
   // TODO: Add your control notification handler code here
   UpdateData(TRUE);

   if (m_strEdit.GetLength() == 0) {
      AfxMessageBox(L"You must enter the name of the text.");
      return;
   }
   CFile file;

   file.Open(L"ArchiveText.rpr", CFile::modeCreate | CFile::modeWrite);
   CArchive ar(&file, CArchive::store);
   ar << m_strEdit;

   ar.Close();
   file.Close();
}
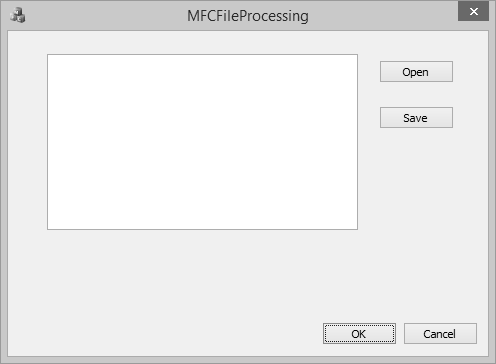
Step 5 − When the above code is compiled and executed, you will see the following output.
Step 6 − Write something and click Save. It will save the data in binary format.
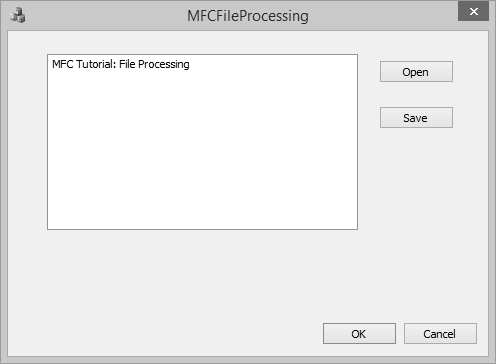
Step 7 − Remove the test from edit control. As you click Open, observe that the same text is loaded again.