- MFC Tutorial
- MFC - Home
- MFC - Overview
- MFC - Environment Setup
- MFC - VC++ Projects
- MFC - Getting Started
- MFC - Windows Fundamentals
- MFC - Dialog Boxes
- MFC - Windows Resources
- MFC - Property Sheets
- MFC - Windows Layout
- MFC - Controls Management
- MFC - Windows Controls
- MFC - Messages & Events
- MFC - Activex Controls
- MFC - File System
- MFC - Standard I/O
- MFC - Document View
- MFC - Strings
- MFC - Carray
- MFC - Linked Lists
- MFC - Database Classes
- MFC - Serialization
- MFC - Multithreading
- MFC - Internet Programming
- MFC - GDI
- MFC - Libraries
- MFC Useful Resources
- MFC - Quick Guide
- MFC - Useful Resources
- MFC - Discussion
MFC - Dialog Boxes
In this chapter, we will be covering the Dialog boxes. Applications for Windows frequently communicate with the user through dialog boxes. CDialog class provides an interface for managing dialog boxes. The Visual C++ dialog editor makes it easy to design dialog boxes and create their dialog-template resources.
Creating a dialog object is a two-phase operation −
Construct the dialog object.
Create the dialog window.
Let us look into a simple example by creating a new Win32 project.
Step 1 − Open the Visual studio and click on the File → New → Project menu option.
Step 2 − You can now see the New Project dialog box.
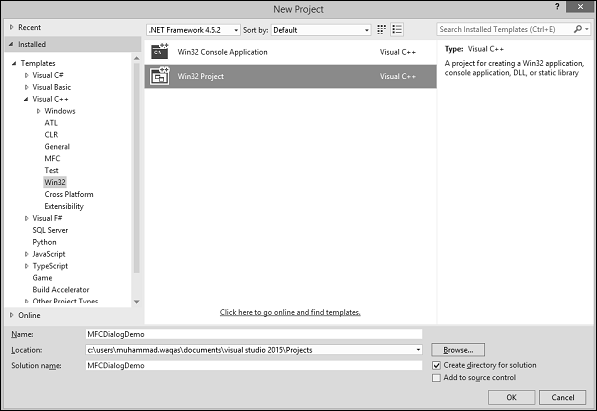
Step 3 − From the left pane, select Templates → Visual C++ → Win32.
Step 4 − In the middle pane, select Win32 Project.
Step 5 − Enter project name ‘MFCDialogDemo’ in the Name field and click OK to continue. You will see the following dialog.
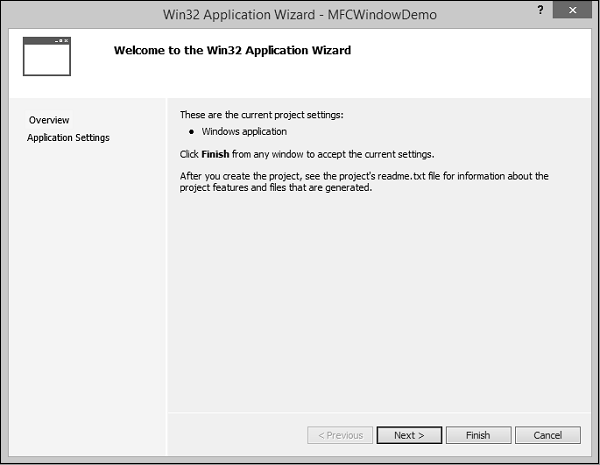
Step 6 − Click Next.
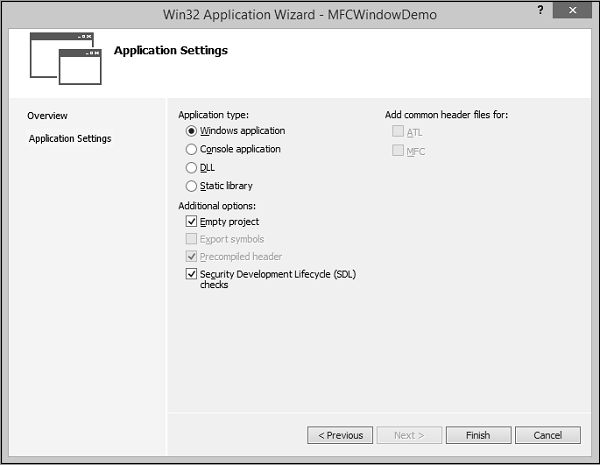
Step 7 − Select the options shown in the dialog box given above and click Finish.
Step 8 − An empty project is created.
Step 9 − To make it a MFC project, right-click on the project and select Properties.
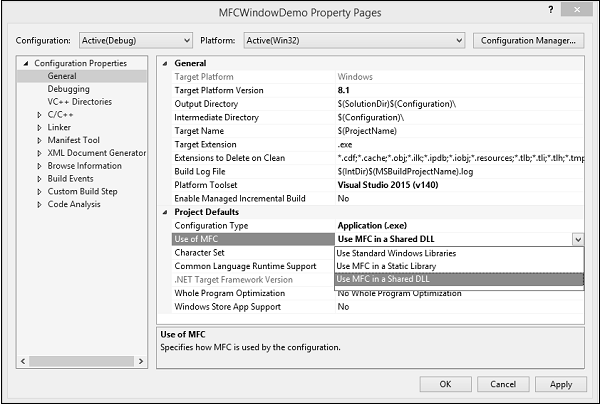
Step 10 − In the left section, click Configuration Properties → General.
Step 11 − Select the Use MFC in Shared DLL option in Project Defaults section and click OK.
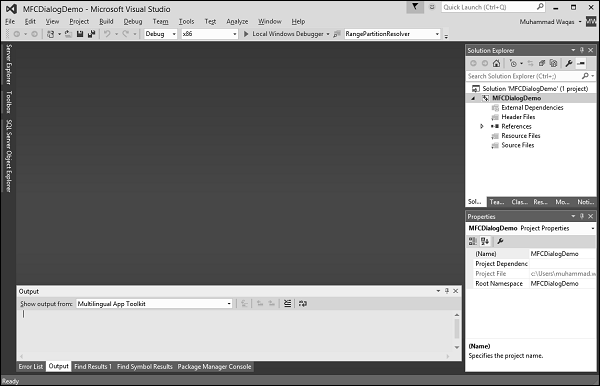
Step 12 − Add a new source file.
Step 13 − Right-click on your Project and select Add → New Item.
Step 14 − In the Templates section, click C++ File (.cpp)
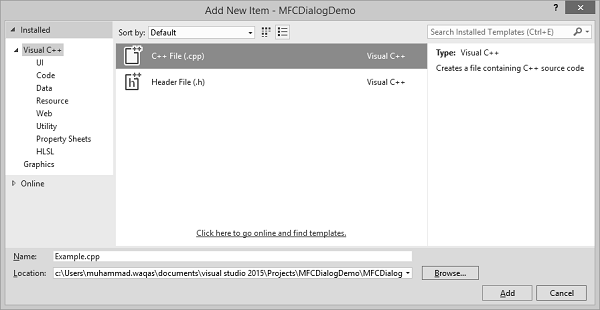
Step 15 − Set the Name as Example and click Add.
Step 16 − To create an application, we need to add a class and derive it from the MFC's CWinApp.
#include <afxwin.h>

class CExample : public CWinApp {
   public:
      BOOL InitInstance();
};
Dialog Box Creation
Step 1 − To create a dialog box, right-click on the Resource Files folder in solution explorer and select Add → Resource.
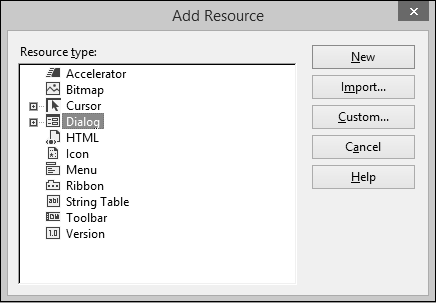
Step 2 − In the Add Resource dialog box, select Dialog and click New.
Step 3 − A dialog box requires some preparation before actually programmatically creating it.
Step 4 − A dialog box can first be manually created as a text file (in a resource file).
Step 5 − You can now see the MFCDialogDemo.rc file created under Resource Files.
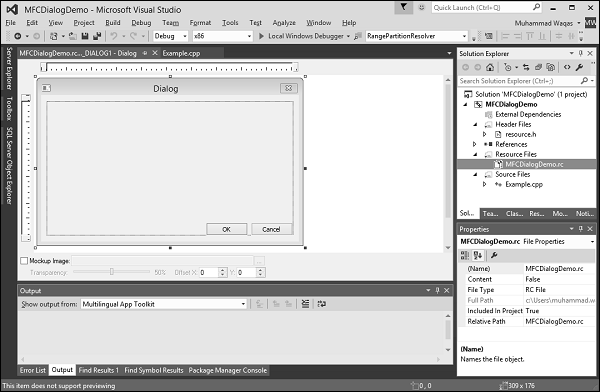
Step 6 − The resource file is open in designer. The same can be opened as a text file. Rightclick on the resource file and select Open With.
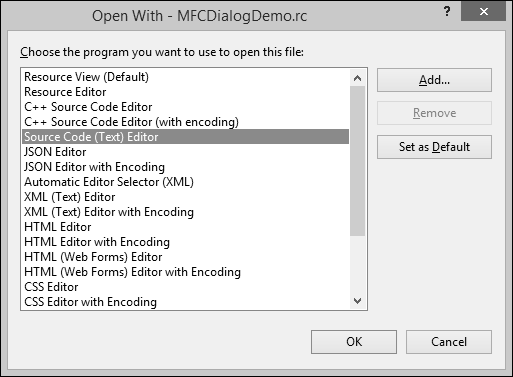
Step 7 − Select the Source Code (Text) editor and click Add button.
Step 8 − Go back to the designer and right-click on the dialog and select Properties.
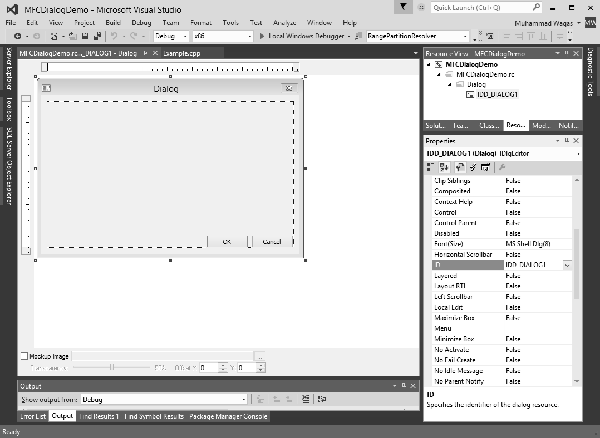
Step 9 − You need to choose out of the many options.
Step 10 − Like most other controls, a dialog box must be identified. The identifier (ID) of a dialog box usually starts with IDD_, Let us change the ID to IDD_EXAMPLE_DLG.
Dialog Location
A dialog box must be “physically” located on an application. Because a dialog box is usually created as a parent to other controls, its location depends on its relationship to its parent window or to the desktop.
If you look and the Properties window, you see two fields, X Pos and Y Pos.
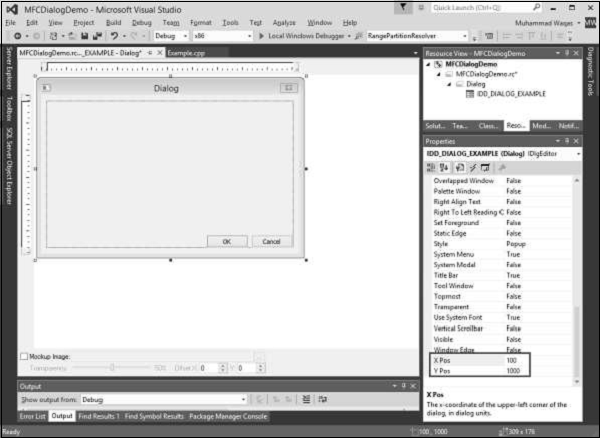
X is the distance from the left border of the monitor to the left border of the dialog box.
Y is the distance from the top border of the monitor to the top border of the dialog box.
By default, these fields are set to zero. You can also change as shown above.
If you specify these two dimensions as 0, the left and top borders of the dialog box would be set so the object appears in the center-middle of the screen.
Dialog Box Dimensions
The dimensions of a dialog box refer to its width and its height. You can resize the width and height with the help of mouse in designer window.
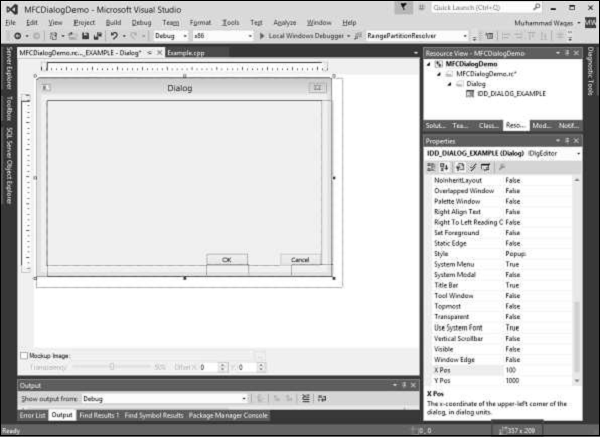
You can see the changes in width and height on the Status Bar.
Dialog Box Methods
The base class used for displaying dialog boxes on the screen is CDialog class. To create a dialog box, we need to derive a class from CDialog. The CDialog class itself provides three constructors which are as follows −
CDialog();
CDialog(UINT nIDTemplate, CWnd* pParentWnd = NULL);
CDialog(LPCTSTR lpszTemplateName, CWnd* pParentWnd = NULL);
Let us create another class CExampleDlg and derive it from CDialog. We will implement its default constructor destructor as shown in the following code.
class CExampleDlg : public CDialog {
   public:
      enum { IDD = IDD_EXAMPLE_DLG };

      CExampleDlg();
      ~CExampleDlg();
};

CExampleDlg::CExampleDlg():CDialog(CExampleDlg::IDD) {

}

CExampleDlg::~CExampleDlg() {

}
We need to instantiate this dialog on CExample::InitInstance() method as shown in the following code.
BOOL CExample::InitInstance() {
   CExampleDlg myDlg;
   m_pMainWnd = &myDlg;

   return TRUE;
}
Modal Dialog Boxes
There are two types of dialog boxes − modeless and modal. Modal and modeless dialog boxes differ by the process used to create and display them.
Modeless Dialog Box
For a modeless dialog box, you must provide your own public constructor in your dialog class.
To create a modeless dialog box, call your public constructor and then call the dialog object's Create member function to load the dialog resource.
You can call Create either during or after the constructor call. If the dialog resource has the property WS_VISIBLE, the dialog box appears immediately.
If not, you must call its ShowWindow member function.
Modal Dialog
To create a modal dialog box, call either of the two public constructors declared in CDialog.
Next, call the dialog object's DoModal member function to display the dialog box and manage interaction with it until the user chooses OK or Cancel.
This management by DoModal is what makes the dialog box modal. For modal dialog boxes, DoModal loads the dialog resource.
Step 1 − To display the dialog box as modal, in the CExample::InitInstance() event call the DoModal() method using your dialog variable −
BOOL CExample::InitInstance() {
   CExampleDlg myDlg;
   m_pMainWnd = &myDlg;
   myDlg.DoModal();
   return TRUE;
}
Step 2 − Here is the complete implementation of Example.cpp file.
#include <afxwin.h>
#include "resource.h"

class CExample : public CWinApp {
   public:
      BOOL InitInstance();
};

class CExampleDlg : public CDialog {
   public:
      enum { IDD = IDD_EXAMPLE_DLG };

      CExampleDlg();
     ~CExampleDlg();
};

CExampleDlg::CExampleDlg():CDialog(CExampleDlg::IDD) {

}

CExampleDlg::~CExampleDlg() {

}

BOOL CExample::InitInstance() {
   CExampleDlg myDlg;
   m_pMainWnd = &myDlg;
   myDlg.DoModal();
   return TRUE;
}
CExample MyApp;
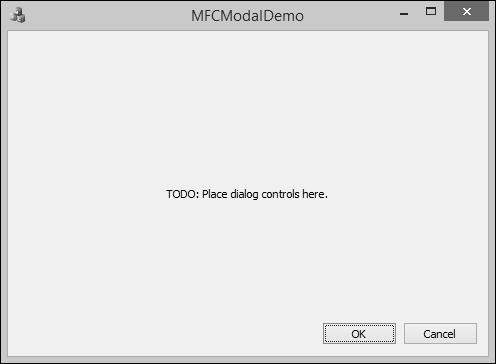
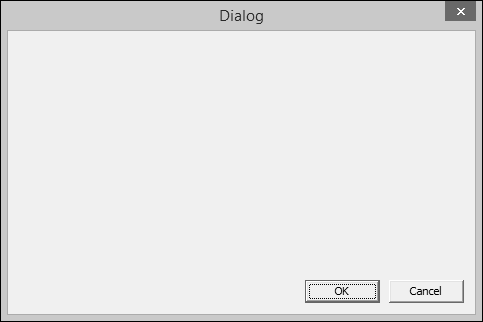
Step 3 − When the above code is compiled and executed, you will see the following dialog box.
Dialog-Based Applications
Microsoft Visual Studio provides an easier way to create an application that is mainly based on a dialog box. Here are the steps to create a dialog base project using project templates available in Visual Studio −
Step 1 − Open the Visual studio and click on the File → New → Project menu option. You can see the New Project dialog box.
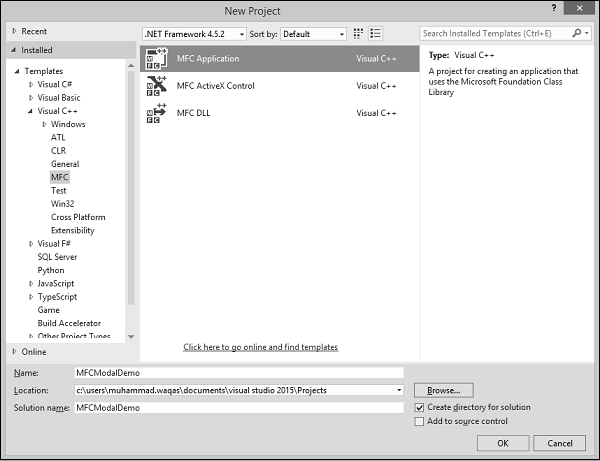
Step 2 − From the left pane, select Templates → Visual C++ → MFC.
Step 3 − In the middle pane, select MFC Application.
Step 4 − Enter project name ‘MFCModalDemo’ in the Name field and click OK to continue. You will see the following dialog box.
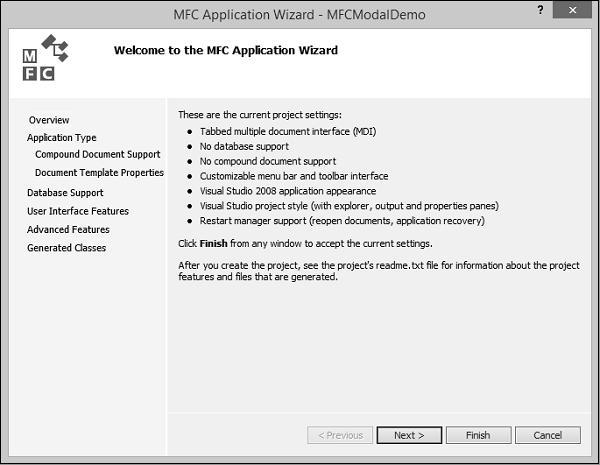
Step 5 − Click Next.
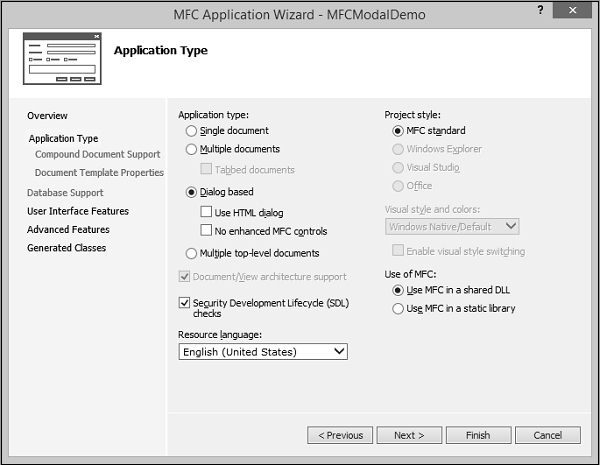
Step 6 − Select the options shown in the above dialog box and click Next.
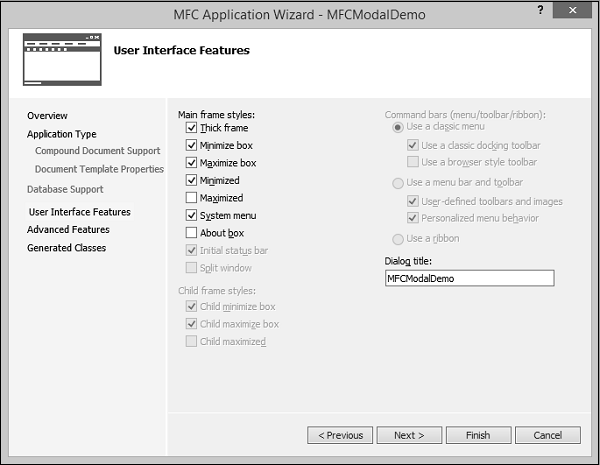
Step 7 − Check all the options that you choose to have on your dialog box like Maximize and Minimize Boxes and click Next.
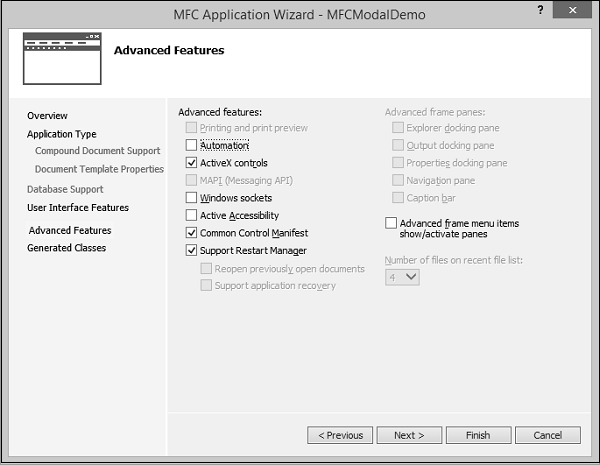
Step 8 − Click Next.
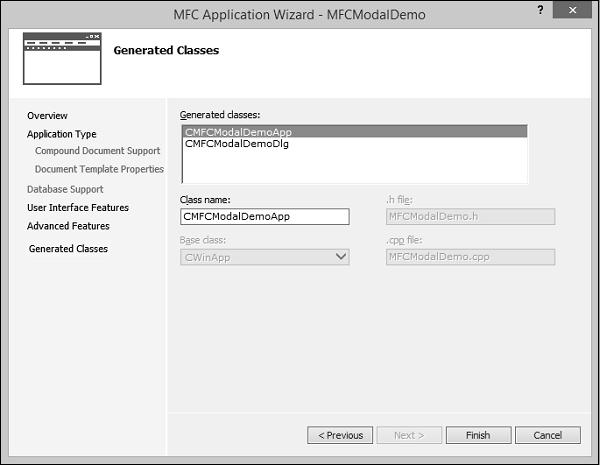
Step 9 − It will generate these two classes. You can change the name of the classes and click Finish.
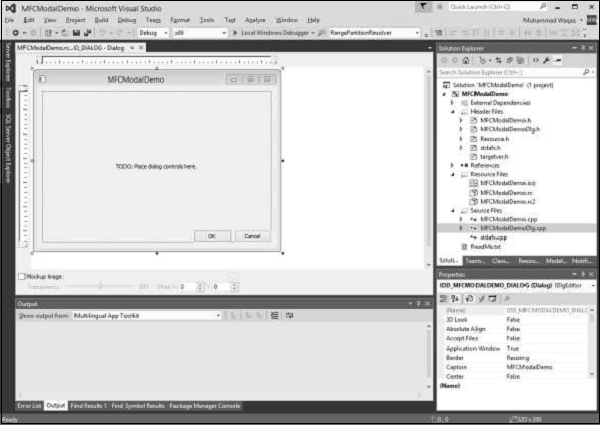
Step 10 − You can now see that the MFC wizard creates this Dialog Box and the project files by default.
Step 11 − When you run this application, you will see the following output.