- MFC Tutorial
- MFC - Home
- MFC - Overview
- MFC - Environment Setup
- MFC - VC++ Projects
- MFC - Getting Started
- MFC - Windows Fundamentals
- MFC - Dialog Boxes
- MFC - Windows Resources
- MFC - Property Sheets
- MFC - Windows Layout
- MFC - Controls Management
- MFC - Windows Controls
- MFC - Messages & Events
- MFC - Activex Controls
- MFC - File System
- MFC - Standard I/O
- MFC - Document View
- MFC - Strings
- MFC - Carray
- MFC - Linked Lists
- MFC - Database Classes
- MFC - Serialization
- MFC - Multithreading
- MFC - Internet Programming
- MFC - GDI
- MFC - Libraries
- MFC Useful Resources
- MFC - Quick Guide
- MFC - Useful Resources
- MFC - Discussion
MFC - Bitmap Button
A bitmap button displays a picture or a picture and text on its face. This is usually intended to make the button a little explicit. A bitmap button is created using the CBitmapButton class, which is derived from CButton.
Here is the list of methods in CBitmapButton class.
| Sr.No. | Name & Description |
|---|---|
| 1 | AutoLoad Associates a button in a dialog box with an object of the CBitmapButton class, loads the bitmap(s) by name, and sizes the button to fit the bitmap. |
| 2 | LoadBitmaps Initializes the object by loading one or more named bitmap resources from the application's resource file and attaching the bitmaps to the object. |
| 3 | SizeToContent It resizes the button to the size of the bitmaps. |
Here is the list of messages mapping for Bitmap Button control −
| Message | Map entry | Description |
|---|---|---|
| BN_CLICKED | ON_BN_CLICKED( <id>, <memberFxn> ) | The framework calls this member function when the button is clicked. |
| BN_DISABLE | ON_BN_DISABLE( <id>, <memberFxn> ) | The framework calls this member function when the button is disabled. |
| BN_DOUBLECLICKED | ON_BN_DOUBLECLICKED( <id>, <memberFxn> ) | The framework calls this member function when the button is double clicked. |
| BN_PAINT | ON_BN_PAINT( <id>, <memberFxn> ) | The framework calls this member function when an application makes a request to repaint a button. |
Let us look into a simple example by creating a new project.
Step 1 − Add a Bitmap from Add Resource dialog box.
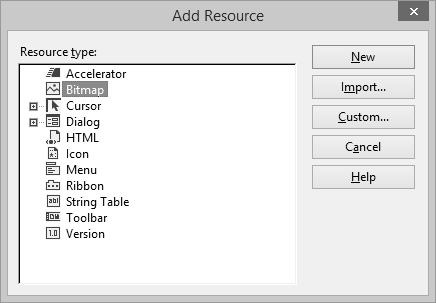
Step 2 − Select Bitmap and click New.
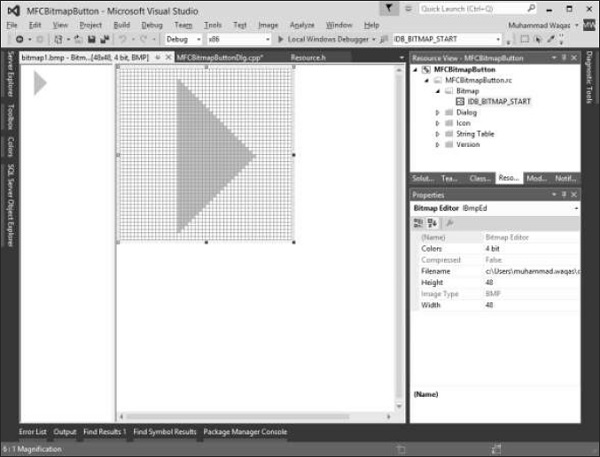
Step 3 − Design your bitmap and change its ID to IDB_BITMAP_START as shown above.
Step 4 − Add a button to your dialog box and also add a control Variable m_buttonStart for that button.
Step 5 − Add a bitmap variable in your header file. You can now see the following two variables.
CBitmap m_bitmapStart;
CButton m_buttonStart;
Step 6 − Modify your OnInitDialog() method as shown in the following code.
m_bitmapStart.LoadBitmap(IDB_BITMAP_START);
HBITMAP hBitmap = (HBITMAP)m_bitmapStart.GetSafeHandle();
m_buttonStart.SetBitmap(hBitmap);
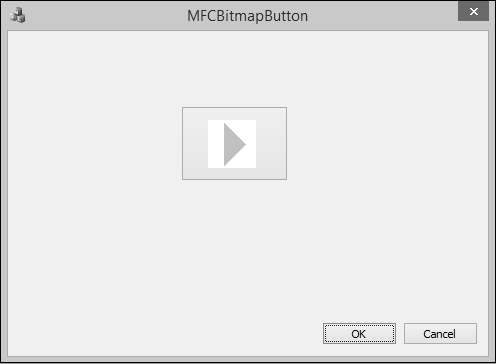
Step 7 − When the above code is compiled and executed, you will see the following output.