- Jupyter Tutorial
- Jupyter - Home
- IPython
- IPython - Introduction
- IPython - Installation
- IPython - Getting Started
- Running & Editing Python Script
- IPython - History Command
- IPython - System Commands
- IPython - Command Line Options
- Dynamic Object Introspection
- IPython - IO Caching
- Setting IPython as Default Python Environment
- Importing Python Shell Code
- IPython - Embedding IPython
- IPython - Magic Commands
- Jupyter
- Project Jupyter - Overview
- Jupyter Notebook - Introduction
- Working With Jupyter Online
- Installation and Getting Started
- Jupyter Notebook - Dashboard
- Jupyter Notebook - User Interface
- Jupyter Notebook - Types of Cells
- Jupyter Notebook - Editing
- Jupyter Notebook - Markdown Cells
- Cell Magic Functions
- Jupyter Notebook - Plotting
- Converting Notebooks
- Jupyter Notebook - IPyWidgets
- QtConsole
- QtConsole - Getting Started
- QtConsole - Multiline Editing
- QtConsole - Inline Graphics
- QtConsole - Save to Html
- QtConsole - Multiple Consoles
- Connecting to Jupyter Notebook
- Using github and nbviewer
- JupyterLab
- JupyterLab - Overview
- Installation & Getting Started
- JupyterLab - Interface
- JupyterLab - Installing R Kernel
- Jupyter Resources
- Jupyter - Quick Guide
- Jupyter - Useful Resources
- Jupyter - Discussion
JupyterLab - Interface
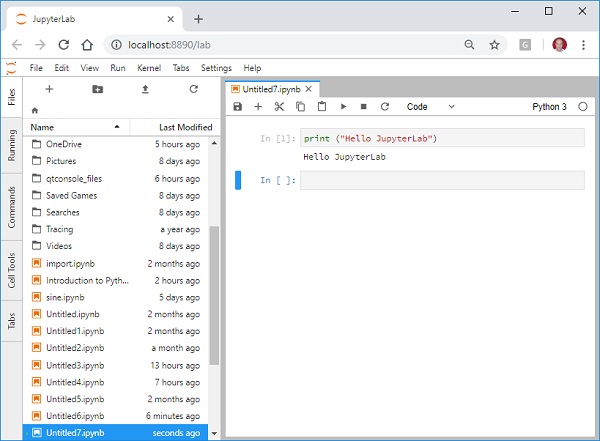
To start a new notebook, click the desired kernel. In above screenshot, one kernel is seen that is Python3 kernel. Click it to start a Python notebook. Observe that its functionality is similar to the one we have studied in this tutorial.
Menu Bar
The menu bar is at the top of window. The default menus you can find in this are −
File − Actions related to files and directories.
Edit − Actions related to editing documents and other activities.
View − Actions that alter the appearance of JupyterLab.
Run − Actions for running code in different activities such as notebooks and code consoles.
Kernel − Actions for managing kernels, which are separate processes for running code.
Tabs − A list of the open documents and activities in the dock panel.
Settings − Common settings and an advanced settings editor.
Help − A list of JupyterLab and kernel help links.
The left sidebar shows buttons for starting a new launcher, adding a folder, uploading file and refresh file list. The right pane is the main working area where notebook, console and terminals are shown in tabbed view.
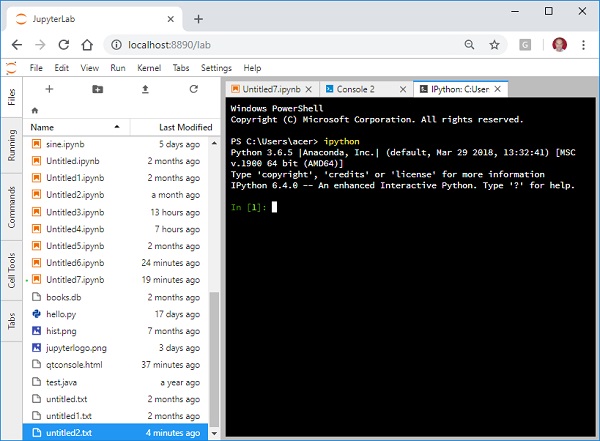
To start a new console, click + symbol in the left side bar to open a new launcher and then click the console option. The console will open in new tab on the right pane.
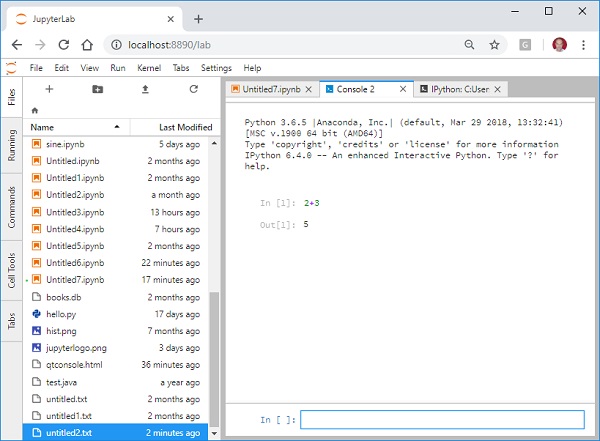
Note that the input cell is at the bottom, but when it is run, the cell and its corresponding output cell appears in upper part of console tab.
The launcher also allows you open a text editor and a terminal in which IPython shell can be invoked.