- Groovy Tutorial
- Groovy - Home
- Groovy - Overview
- Groovy - Environment
- Groovy - Basic Syntax
- Groovy - Data Types
- Groovy - Variables
- Groovy - Operators
- Groovy - Loops
- Groovy - Decision Making
- Groovy - Methods
- Groovy - File I/O
- Groovy - Optionals
- Groovy - Numbers
- Groovy - Strings
- Groovy - Ranges
- Groovy - Lists
- Groovy - Maps
- Groovy - Dates & Times
- Groovy - Regular Expressions
- Groovy - Exception Handling
- Groovy - Object Oriented
- Groovy - Generics
- Groovy - Traits
- Groovy - Closures
- Groovy - Annotations
- Groovy - XML
- Groovy - JMX
- Groovy - JSON
- Groovy - DSLS
- Groovy - Database
- Groovy - Builders
- Groovy - Command Line
- Groovy - Unit Testing
- Groovy - Template Engines
- Groovy - Meta Object Programming
- Groovy Useful Resources
- Groovy - Quick Guide
- Groovy - Useful Resources
- Groovy - Discussion
Groovy - Environment
There are a variety of ways to get the Groovy environment setup.
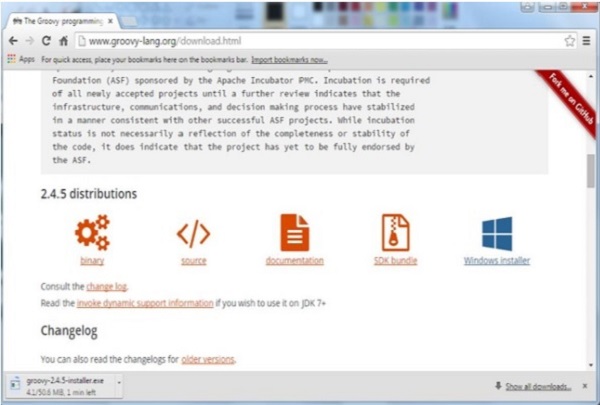
Binary download and installation − Go to the link www.groovy-lang.org/download.html to get the Windows Installer section. Click on this option to start the download of the Groovy installer.
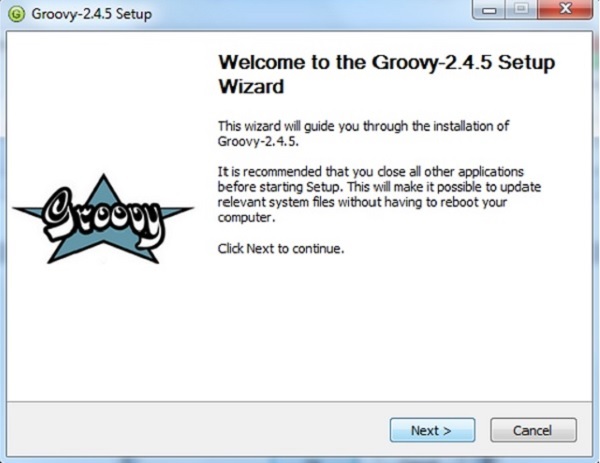
Once you launch the installer, follow the steps given below to complete the installation.
Step 1 − Select the language installer.

Step 2 − Click the Next button in the next screen.
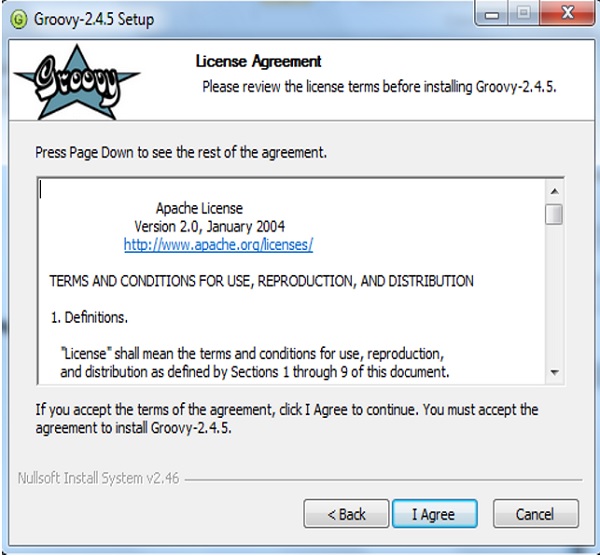
Step 3 − Click the ‘I Agree’ button.
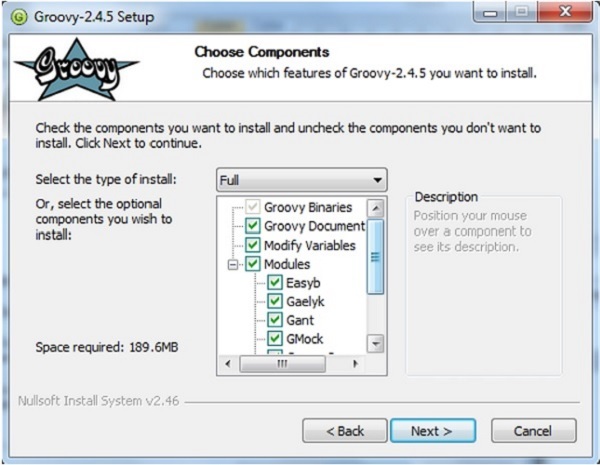
Step 4 − Accept the default components and click the Next button.
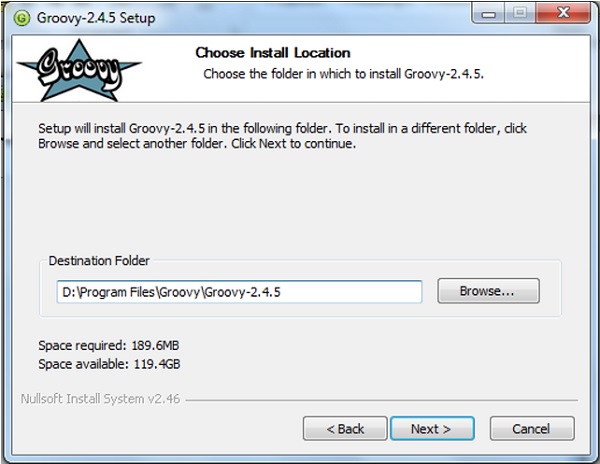
Step 5 − Choose the appropriate destination folder and then click the Next button.
Step 6 − Click the Install button to start the installation.
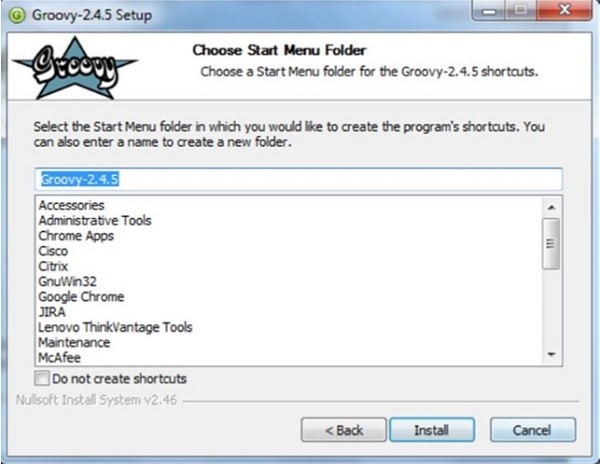
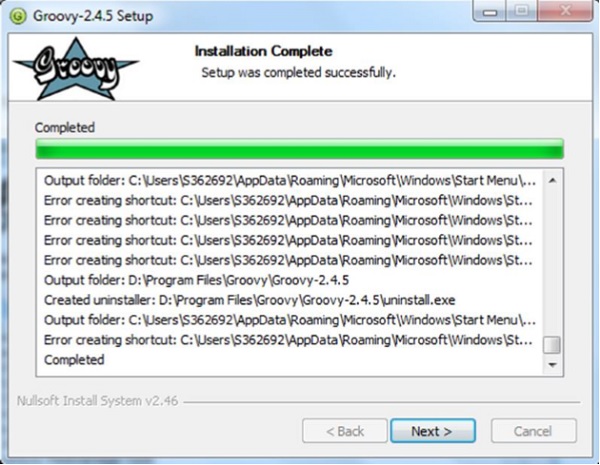
Step 7 − Once the installation is complete, click the Next button to start the configuration.
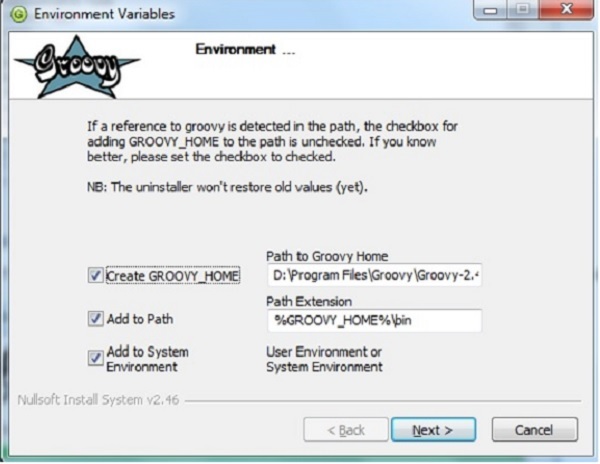
Step 8 − Choose the default options and click the Next button.
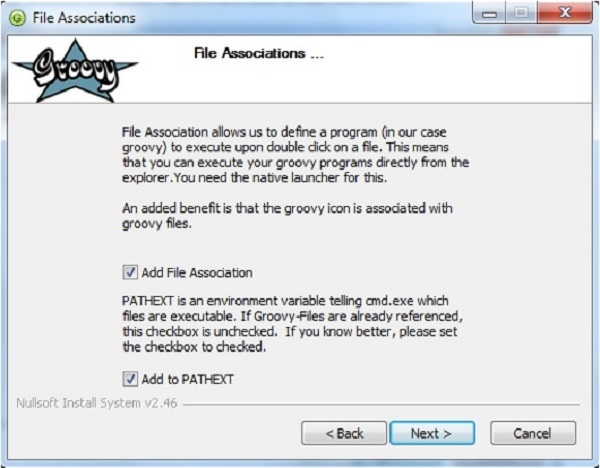
Step 9 − Accept the default file associations and click the Next button.
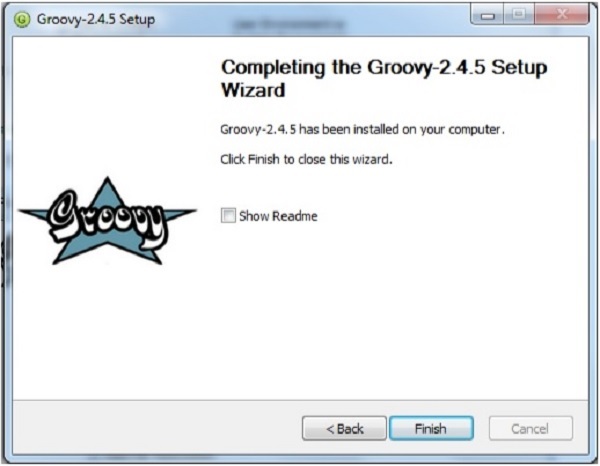
Step 10 − Click the Finish button to complete the installation.
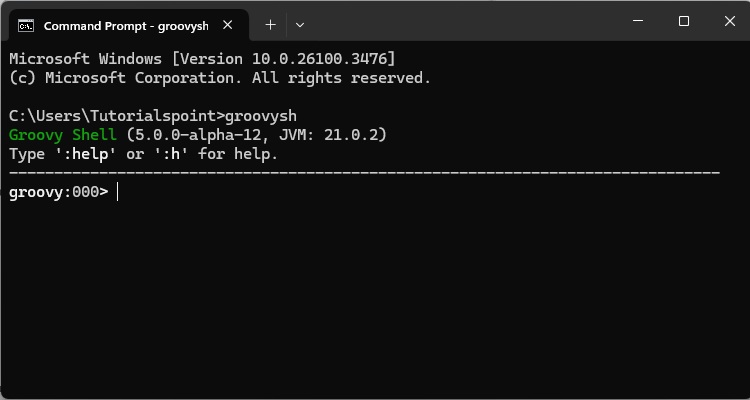
Once the above steps are followed, you can then start the groovy shell which is part of the Groovy installation that helps in testing our different aspects of the Groovy language without the need of having a full-fledged integrated development environment for Groovy. This can be done by running the command groovysh from the command prompt.
If you want to include the groovy binaries as part of you maven or gradle build, you can add the following lines
Gradle
'org.codehaus.groovy:groovy:2.4.5'
Maven
<groupId>org.codehaus.groovy</groupId>
<artifactId>groovy</artifactId>
<version>2.4.5</version>