- ESP32 for IoT Tutorial
- Home
- Brief Overview of IoT
- Introduction to ESP32
- Installing the ESP32 Board in Arduino IDE
- Setting up RTOS for dual-core and multi-threaded operation
- Interfacing ESP32 with MPU6050
- Interfacing ESP32 with Analog sensors
- ESP32 Preferences
- ESP32 SPIFFS storage (A mini-SD Card in the chip itself)
- Interfacing OLED Display with ESP32
- WiFi on ESP32
- Transmitting data over WiFi using HTTP
- Transmitting data over WiFi using HTTPS
- Transmitting data over WiFi using MQTT
- Transmitting data over Bluetooth
- Getting current time using NTP Client
- Performing the (OTA) update of ESP32 firmware
- Applications of ESP32
- Next steps for you as a developer
- ESP32 for IoT Useful Resources
- Quick Guide
- Useful Resources
- Discussion
Brief Overview of IoT
On the software front, you will need the Arduino IDE installed on your machine. See https://www.arduino.cc/en/software.
On the hardware front, you will need the following components −
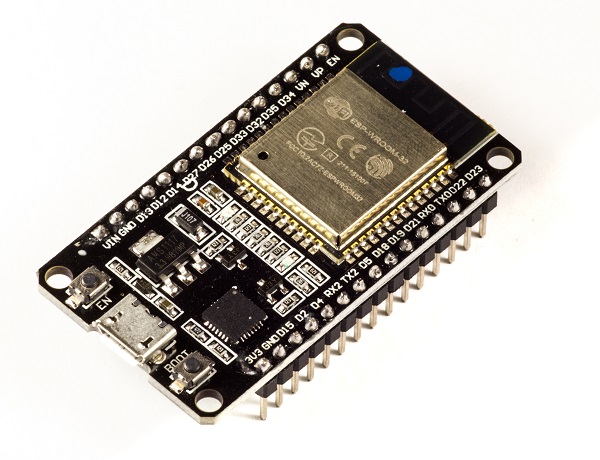
ESP32 dev board − Necessary
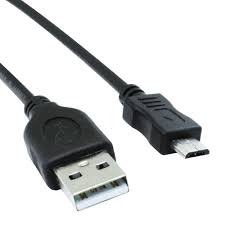
Micro USB Cable − Necessary for powering and programming the ESP32
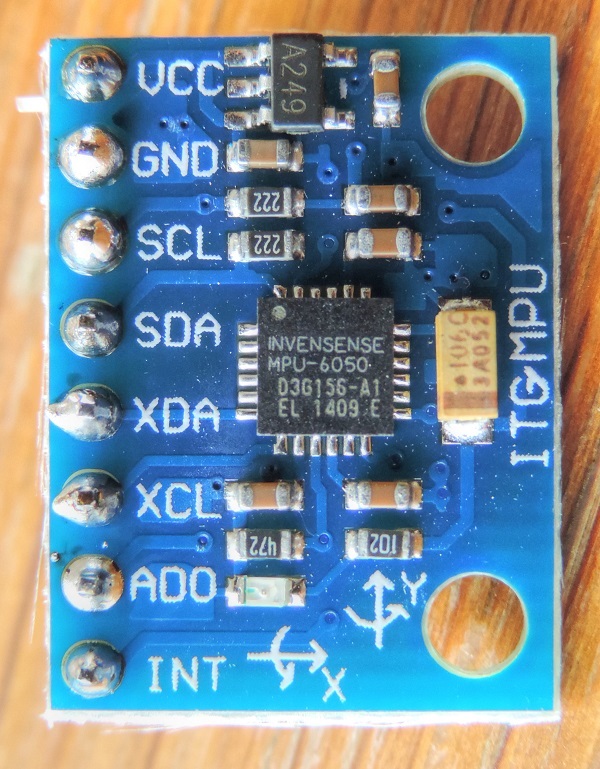
MPU6050 module − Optional (You will need it only for the chapter specific to MPU6050)
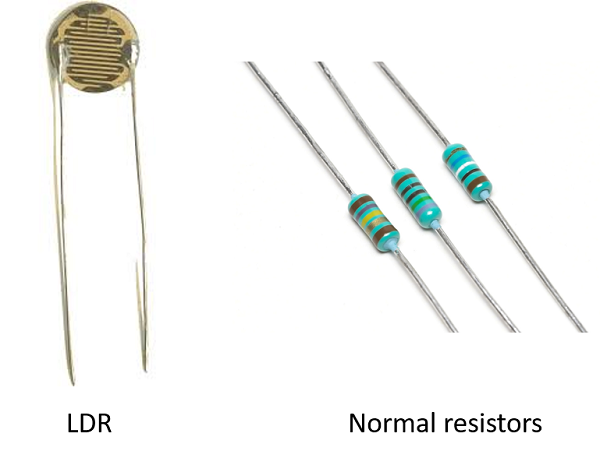
Light Dependent Resistor (LDR) with a normal resistor of comparable resistance or any other analog sensor − Optional (You will need these only for the ADC chapter)
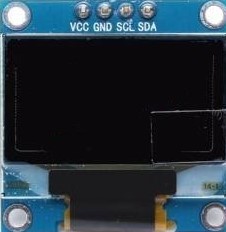
OLED Display − Optional (You will need it only for the chapter specific to the OLED Interface)
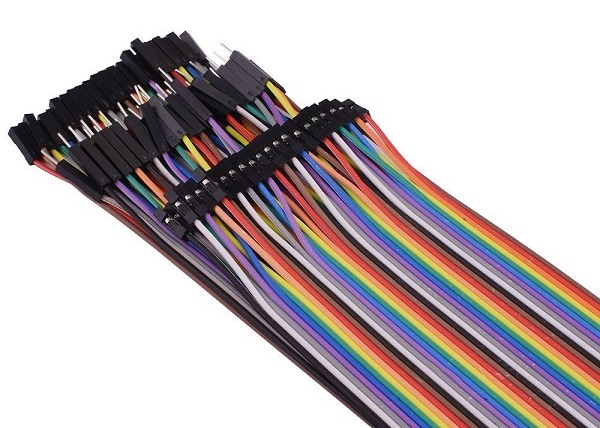
Jumper wires − Optional (You will need these wires for interfacing ESP32 to MPU6050, LDR and/or OLED display)
A note on GitHub usage
As mentioned in the Overview part, a GitHub link is provided with each chapter that contains a code walkthrough. Several of these codes have been taken from the examples that come along with the ESP32 board in Arduino. Therefore, you need not make any extra effort to run them on your local machine. You can find them from File −> Examples in the Arduino IDE once you install the ESP32 board in Arduino (we have a separate chapter for that). Wherever an example code has been used, the exact path of the example code is mentioned.
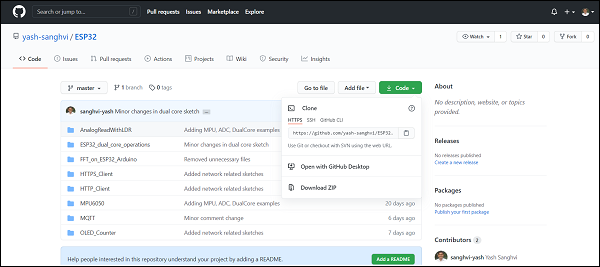
All the codes which are not present in examples can be found in the following repository − https://github.com/yash-sanghvi/ESP32. Now, if you wish to download and run these codes on your local machine, you need to do the following −
Click on the green button that reads 'Code'.
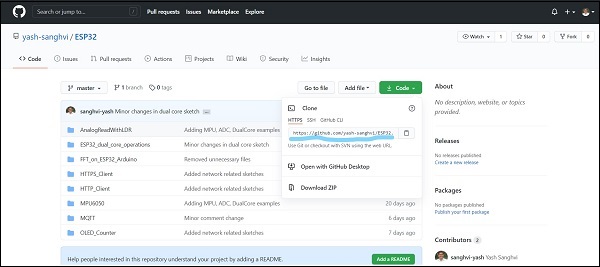
If you are new to Git, you can simply download the zip file and extract it into the folder of your choice. The subfolders contain the required Arduino (.ino) files which you can then open in the Arduino IDE and compile and flash into the ESP32.
If you are familiar with Git and have Git installed on your machine, you can copy the HTTPS address which is https://github.com/yash-sanghvi/ESP32.git, navigate to the folder where you wish to clone this repository, open your Git Command−Line and enter git clone https://github.com/yash-sanghvi/ESP32.git
If you are new to Git, you may be wondering why we should make the effort of cloning the repository, when downloading and extracting the zip will have the same effect. The answer is that downloading a zip is a one time process. In case, some changes happen to this repository in the future, the downloaded version in your local machine can't reflect those directly. You will need to download the zip again. If you clone the repository, you can fetch all the future changes by simply calling git pull. There's a lot more you can do with a clone. If there are multiple branches within the repository, you can switch branches just by git checkout branch−name. If you are downloading a zip, you will need to download a separate zip for each branch. The bottom line is that cloning is much more convenient in general. However, for this particular use case, since we don't anticipate major changes to this repository in the future and the master branch will only be of importance to you, you can go ahead and download zip, if you aren't very familiar with Git.
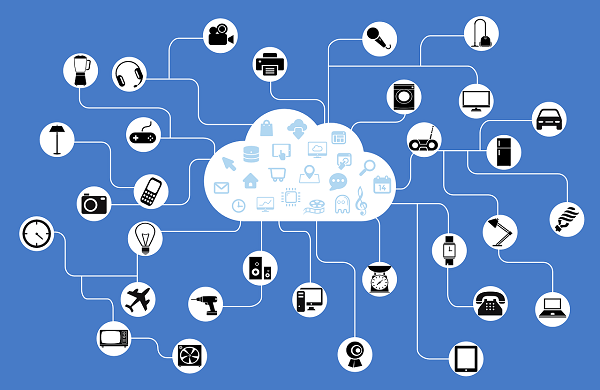
Have you noticed that a lot of everyday use things have become 'Smart' lately? There are Smart TVs, Smart ACs, Smart Refrigerators, and whatnot. What does the 'smartness' of these devices refer to? While the answer is somewhat different for each device, one common element of the smartness is 'connectedness'. Your TV gets connected to your WiFi so you can stream shows which you earlier watched only on your mobile phone. Your AC is connected to the internet. You can send a command from another city from your mobile phone, and the AC at your home will turn ON/OFF. Your watch is connected to your mobile phone (via BLE) and you can answer calls using your watch itself. All the things you commonly deal with are connected, as if in a net. It is an inter-net of things.
The above paragraph would have given you a feel of IoT. The definition of IoT, as per Wikipedia, is as follows −
The Internet of things (IoT) describes the network of physical objects - "things" − that are embedded with sensors, software, and other technologies for the purpose of connecting and exchanging data with other devices and systems over the Internet.
The above definition nails it. Things embedded with sensors, and containing software, sharing data with other devices/ systems over the Internet. This definition also clearly highlights two of the three major functional blocks of any IoT device −
Sense
Process and Store
Transmit
Sense
What do the IoT devices sense? They can sense anything worth sensing. If your IoT device is being installed in a garbage dump, it may check the garbage fill level. If your IoT device is being installed in a factory, it may sense the electricity consumption. If your IoT device is installed on a machine, it may sense the vibration signature of the machine to determine whether the machine is ON or OFF or cutting. If your device is installed on a vehicle, it may sense the movement and location of your vehicle.
Your IoT device will sense anything which can help you save costs, increase profits, or warn you about any impending catastrophe. Your traditional fire alarm is so close to being an IoT device. It senses smoke, processes it to determine if the smoke concentration is above the safe level. It just doesn't transmit this information anywhere. However, if you have all the fire alarms in the building connected to the internet, and a dashboard in the security room, showing which room has caught fire, your fire alarm will very much be an IoT device.
Process and Store
What processing/ storage happens onboard an IoT device? This answer depends a lot on your use case. There are IoT devices that do no processing onboard and simply transmit the raw sensor data to the servers. There are IoT devices that do live video processing onboard to identify objects/ people. It depends on the volume of your data, the RAM available, the final output desired, and the transmission bandwidth available. If your device gets a machine's vibration signature every millisecond, you will have 1000 readings in just one second. Sending this volume of data to the server may not make sense in some cases (especially if you are on a low bandwidth network like NB−IoT). In such cases, you may want to perform FFT onboard the device and just send the frequencies and amplitudes of the vibration to the server. If your device senses the temperature and humidity in the atmosphere once every 5 mins, you may just need the formula to convert the raw readings to temperature and humidity and send it across. Or you may just send the raw readings and let the server do the conversion. You may send every reading in this case.
Almost all IoT devices have some onboard memory to store the missed packets in case of a network error. Some devices have config files which also require onboard storage. Some devices keep the last X hours of data in their memory for future access. IoT devices that perform heavy processing onboard definitely require storage to collect sufficient data before the processing starts. For instance, if your device performs FFT on the vibration data after every 10,000 readings, it will need to store the incoming readings till the number reaches 10,000.
Transmit
How do IoT devices transmit data? Well, there are several solutions available. Some of them are −
Choosing the right transmission solution is a big decision in itself and depends a lot on the power available to you, your bandwidth requirements, communication distance, cost, and acceptable latency. Your smartwatch may use BLE to communicate with your mobile phone, your Smart TV may use WiFi, while a device installed in a vehicle may use a cellular network. An IoT device made for agricultural applications, like soil moisture measurement, especially in remote areas, may use LoRa to communicate with another device, which in turn may have a WiFi or Ethernet connection. The ultimate goal is almost always to get the data on a server, and/or display it to the user on a dashboard/app.
Wrapping up
If you are new to IoT, this chapter would have given you a good overview of what the fuss is all about. If this has got you excited, then move on to the next chapter, where we talk about ESP32, the System on Chip (SoC) microcontroller that this entire tutorial is all about. We discuss why ESP32 is popular in the IoT space and what functionalities it provides in the sensing, processing, storage, and transmission domains. See you there.