- Django Tutorial
- Django - Home
- Django - Basics
- Django - Overview
- Django - Environment
- Django - Creating a Project
- Django - Apps Life Cycle
- Django - Admin Interface
- Django - Creating Views
- Django - URL Mapping
- Django - Template System
- Django - Models
- Django - Page Redirection
- Django - Sending E-mails
- Django - Generic Views
- Django - Form Processing
- Django - File Uploading
- Django - Apache Setup
- Django - Cookies Handling
- Django - Sessions
- Django - Caching
- Django - Comments
- Django - RSS
- Django - AJAX
- Django Useful Resources
- Django - Quick Guide
- Django - Useful Resources
- Django - Discussion
Django - Apache Setup
So far, in our examples, we have used the Django dev web server. But this server is just for testing and is not fit for production environment. Once in production, you need a real server like Apache, Nginx, etc. Let's discuss Apache in this chapter.
Serving Django applications via Apache is done by using mod_wsgi. So the first thing is to make sure you have Apache and mod_wsgi installed. Remember, when we created our project and we looked at the project structure, it looked like −
myproject/
   manage.py
   myproject/
      __init__.py
      settings.py
      urls.py
      wsgi.py
The wsgi.py file is the one taking care of the link between Django and Apache.
Let's say we want to share our project (myproject) with Apache. We just need to set Apache to access our folder. Assume we put our myproject folder in the default "/var/www/html". At this stage, accessing the project will be done via 127.0.0.1/myproject. This will result in Apache just listing the folder as shown in the following snapshot.
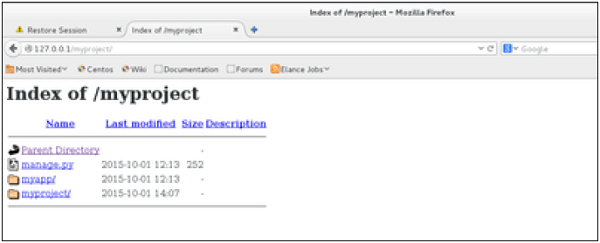
As seen, Apache is not handling Django stuff. For this to be taken care of, we need to configure Apache in httpd.conf. So open the httpd.conf and add the following line −
WSGIScriptAlias / /var/www/html/myproject/myproject/wsgi.py
WSGIPythonPath /var/www/html/myproject/

<Directory /var/www/html/myproject/>
   <Files wsgi.py>
      Order deny,allow
      Allow from all
   </Files>
</Directory>
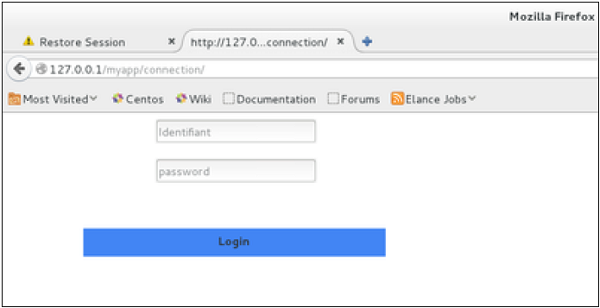
If you can access the login page as 127.0.0.1/myapp/connection, you will get to see the following page −