- Continuous Integration Tutorial
- CI - Home
- CI - Overview
- CI - Software
- CI - Reducing Risks
- CI - Version Control
- CI - Features
- CI - Requirements
- CI - Building a Solution
- CI - Build Scripts
- CI - Building On the Server
- CI - Checking in Source Code
- CI - Creating a Project in TeamCity
- CI - Defining Tasks
- CI - Build Failure Notifications
- CI - Documentation and Feedback
- CI - Testing
- CI - Inspection
- CI - Database
- CI - Deployment
- CI - Best Practices
- Continuous Integration Resources
- CI - Quick Guide
- CI - Useful Resources
- CI - Discussion
Continuous Integration - Database
Continuous Database Integration is the process of rebuilding your database and test data any time a change is applied to a project’s version control repository.
In Database Integration, generally all the artifacts related to the database integration −
- Should reside in a version control system.
- Can be tested for rigor and inspected for policy compliance.
- Can be generated using your build scripts.
Activities that can be involved in Continuous Database Integration can be any one of the following −
Drop a Database − Drop the database and remove the associated data, so that you can create a new database with the same name
Create a new Database − Create a new database using Data Definition Language (DDL).
Insert the Initial Data − Insert any initial data (e.g., lookup tables) that your system is expected to contain when delivered.
Migrate Database and Data − Migrate the database schema and data on a periodic basis (if you are creating a system based on an existing database).
Modify Column Attributes − Modify table column attributes and constraints based on requirements and refactoring.
Modify Test Data − Alter test data as needed for multiple environments.
So in our Continuous Database example, we are going to do the following steps −
We will create a MS SQL Server database and a corresponding table.
We will create a script out of SQL Server Management Studio. This database script will be used to set up our table in the database.
We will write a code in our ASP.Net project to access this database.
We will create a step in our project in TeamCity to run this script.
We will check in our script into Git.
Steps to do this in the AWS database which was created in an earlier section.
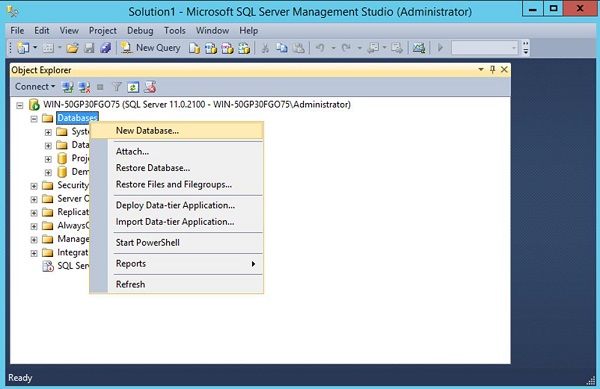
Step 1 − Create an MS SQL Server database and a corresponding table. Let’s open SQL Server Management Studio and create a simple database and table. Right-click databases and click on New Database.
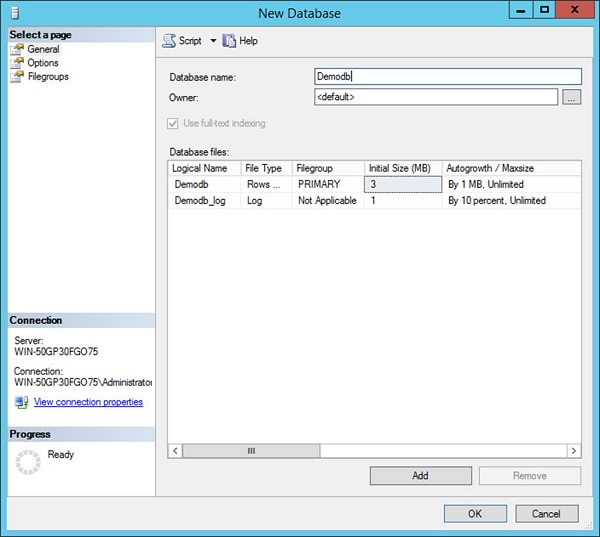
Step 2 − Name it as Demodb and click OK
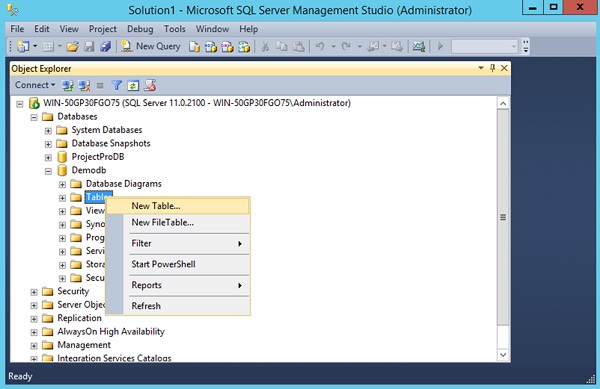
Step 3 − In the new database, right-click and create a new table.
Step 4 − You can add your desired columns to the table.

Step 5 − Save the table and name it as Demotb.
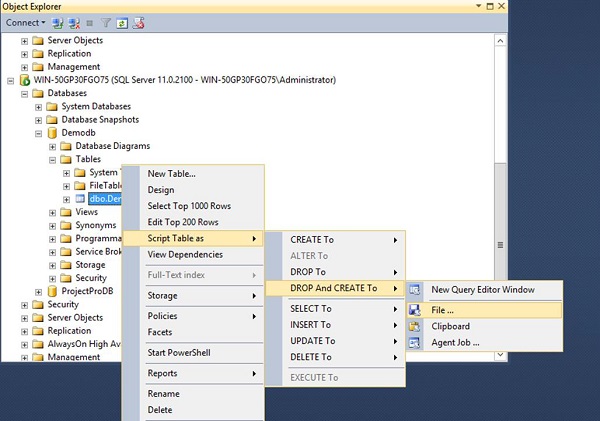
Step 6 − Now right-click on the table and choose the menu option Script Table as → Drop and Create to → File.
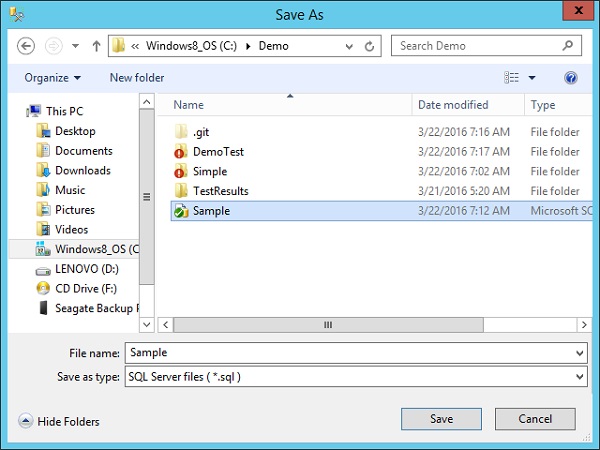
Step 7 − Save the file to the demo project folder as Sample.sql.
This is what the database script would look like. It would first drop an existing table if present and then re-create the table.
USE [Demodb]
GO

/****** Object: Table [dbo].[Demotb] Script Date: 3/22/2016 7:03:25 AM

******

DROP TABLE [dbo].[Demotb]
GO

/****** Object: Table [dbo].[Demotb] Script Date: 3/22/2016 7:03:25 AM

******/
SET ANSI_NULLS ON
GO

SET QUOTED_IDENTIFIER ON
GO

CREATE TABLE [dbo].[Demotb](
   [TutorialName] [nvarchar](max) NULL,
   [TutorialID] [smallint] NULL
) ON [PRIMARY] TEXTIMAGE_ON [PRIMARY]

GO
Step 8 − Now let’s quickly change our ASP.Net code to refer to the new database.
Step 9 − In the Tutorial.cs file in your Demo project, add the following lines of code. These lines of code will connect to your database, take the Server version and store the version name in the Name variable. We can display this Name variable in our Demo.aspx.cs file through a Response.write command.
using System;
using System.Collections.Generic;
using System.Data.SqlClient;
using System.Linq;
using System.Web;

namespace Simple {
   public class Tutorial {
      public String Name;

      public Tutorial() {
         string connectionString = "Data Source = WIN-50GP30FGO75;
         Initial Catalog = Demodb;
         Integrated Security = true;";

         using (SqlConnection connection = new SqlConnection()) {
            connection.ConnectionString = connectionString;
            connection.Open();
            Name = connection.ServerVersion;
            connection.Close();
         }
      }
   }
}
Step 10 − Add the following code to the Demo.aspx.cs file to ensure that it displays the SQL Server version.
using System;
using System.Collections.Generic;
using System.Data.SqlClient;
using System.Linq;
using System.Web;
using System.Web.UI;
using System.Web.UI.WebControls;

namespace Simple {
   public partial class Demo : System.Web.UI.Page {
      Tutorial tp = new Tutorial();

      protected void Page_Load(object sender, EventArgs e){
         Response.Write(tp.Name);
      }
   }
}
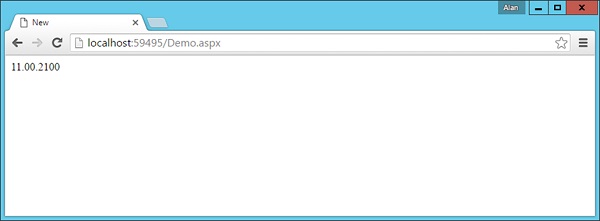
Now if we run the code, you will get the following output in the browser.
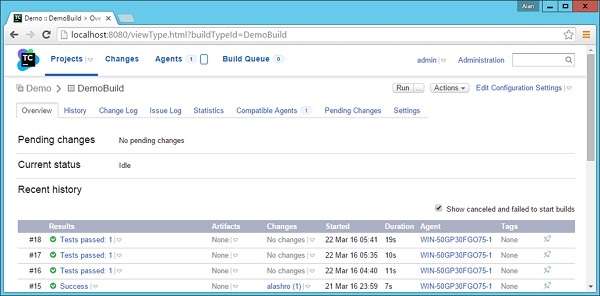
Step 11 − Now let us add our step in TeamCity which will invoke the database script. Go to your project dashboard and click Edit Configuration Settings.
Step 12 − Go to Build Steps and click Add build step.
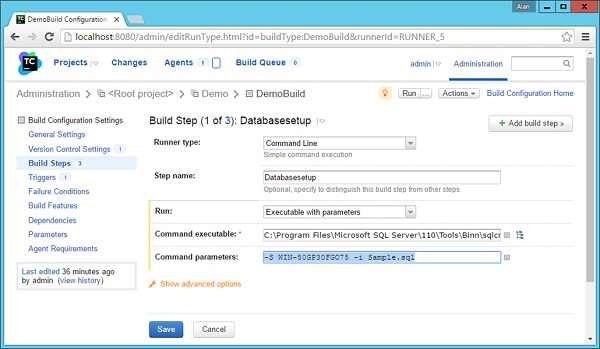
Choose the following options (Note that MS SQL Server client should be installed on the CI Server).
Runner type should be the Command Line.
Give an optional Step Name.
Run should be Executable with parameters.
Command executable should be C:\Program Files\Microsoft SQL Server\110\Tools\Binn\sqlcmd.exe
Command parameters should be -S WIN-50GP30FGO75 -i Sample.sql. Where –S gives the name of the SQL Server instance.
Step 13 − Click Save.
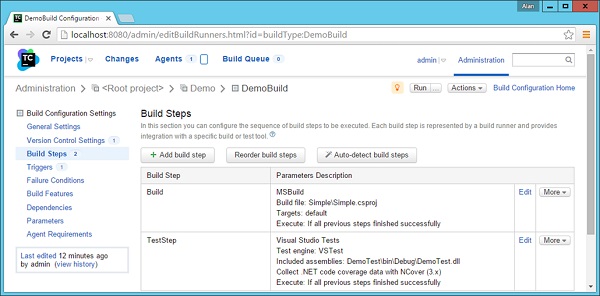
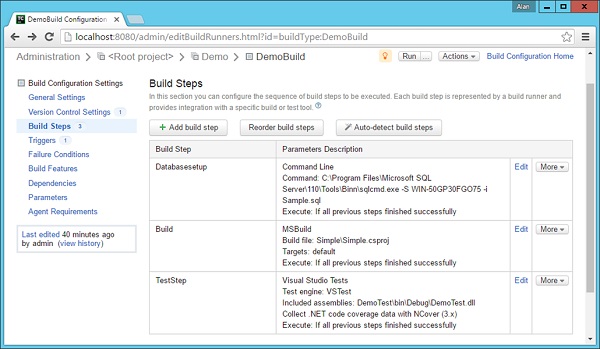
Now what needs to be ensured is the build order. You have to ensure the build order is as follows.
Step 14 − You can change the build order by choosing the option to reorder build steps.
The database setup should be first – So this will be used to recreate your database from fresh.
Next is the build of your application.
Finally your test setup.
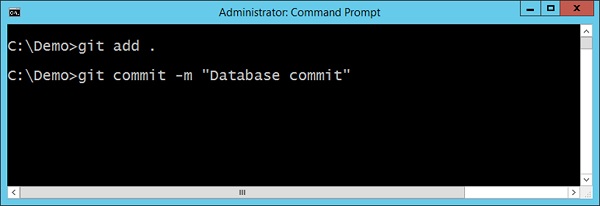
Step 15 − Now run the git add and git commit command so that the Sample.sql file is checked into Git. This will trigger a build automatically. And this build should pass.
You now have a full-fledged build cycle with a continuous database integration aspect as well in your cycle. In the next section, let’s take this further and look at Continuous Deployment.
Now that you have done this with a local SQL Server, we can repeat the same steps for a AWS MS SQL Server which was created in one of the earlier sections. To connect to a Microsoft SQL Server, you need to connect via the following convention.
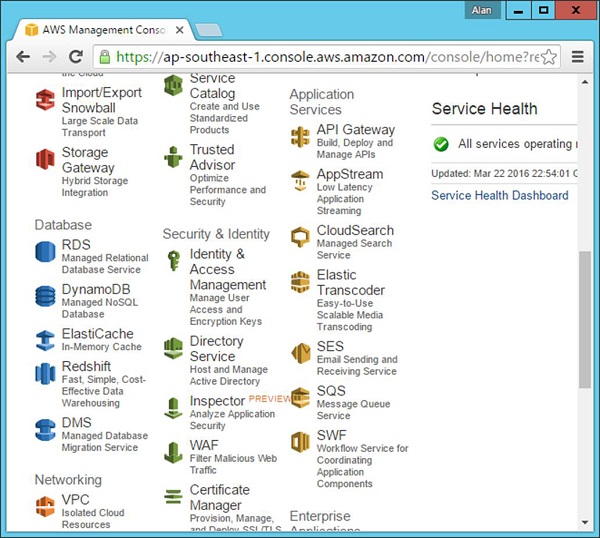
Step 16 − First see what is the name assigned to your database instance in AWS. When you log-in to the AWS, go to the RDS section under the database section.
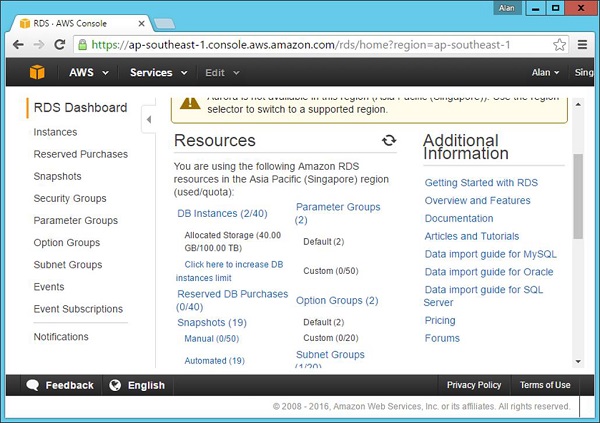
Step 17 − Click on DB Instances in the next screen that comes up.
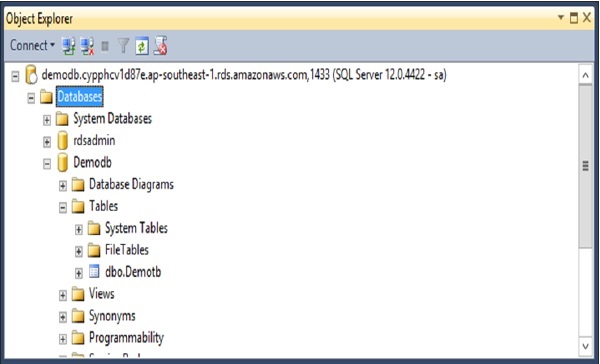
step 18 − Click on your database and make a note of the endpoint. In the following screenshot, it is demodb.cypphcv1d87e.ap-southeast-1.rds.amazonaws.com:1433
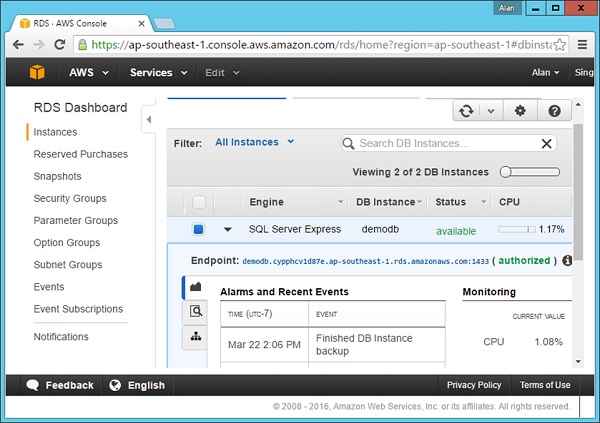
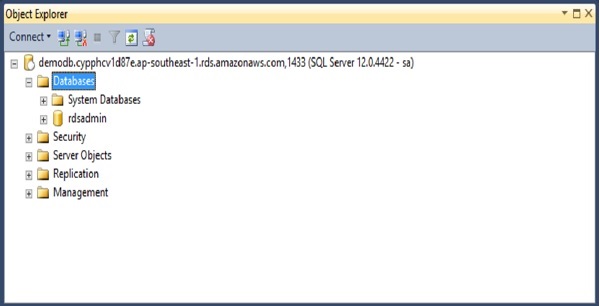
Step 19 − Now to connect to the database from SQL Server Management Studio, you need to specify the connection as demodb.cypphcv1d87e.ap-southeast-1.rds.amazonaws.com,1433 (Note the comma used between instance name and port no).
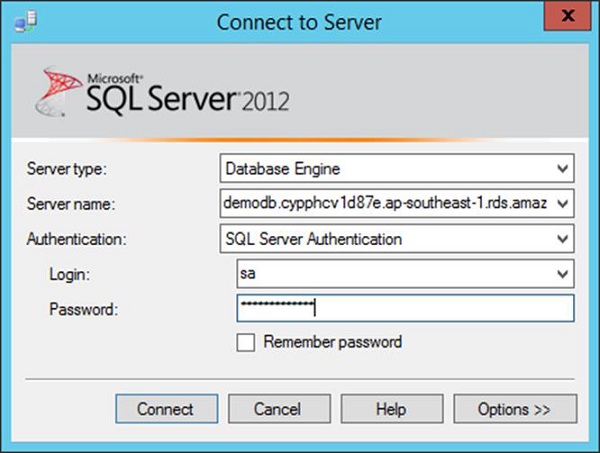
The following screenshot shows a successful connection to the database.
Then you can repeat all the same steps. The Sqlcmd command will be as follows −
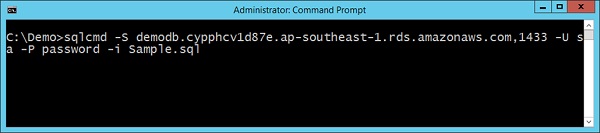
This same command can be replaced in the Database build step in TeamCity. When you execute the sqlcmd command, the table will be created automatically in your SQL Server database in AWS.