- ASP.NET WP Tutorial
- ASP.NET WP - Home
- ASP.NET WP - Overview
- ASP.NET WP - Environment Setup
- ASP.NET WP - Getting Started
- ASP.NET WP - View Engines
- Project Folder Structure
- ASP.NET WP - Global Pages
- ASP.NET WP - Programming Concepts
- ASP.NET WP - Layouts
- ASP.NET WP - Working with Forms
- ASP.NET WP - Page Object Model
- ASP.NET WP - Database
- ASP.NET WP - Add Data to Database
- ASP.NET WP - Edit Database Data
- ASP.NET WP - Delete Database Data
- ASP.NET WP - WebGrid
- ASP.NET WP - Charts
- ASP.NET WP - Working with Files
- ASP.NET WP - Working with Images
- ASP.NET WP - Working with Videos
- ASP.NET WP - Add Email
- ASP.NET WP - Add Search
- Add Social Networking to the Website
- ASP.NET WP - Caching
- ASP.NET WP - Security
- ASP.NET WP - Publish
- ASP.NET WP Useful Resources
- ASP.NET WP - Quick Guide
- ASP.NET WP - Useful Resources
- ASP.NET WP - Discussion
ASP.NET WP - Environment Setup
You can start ASP.NET Web Pages development using any one of the following tools −
- WebMatrix
- Visual Studio
WebMatrix
WebMatrix is a free, lightweight, easy to install and easy to use set of web development tools that provides the easiest way to build websites. It is a tool that integrates a web page editor, a database utility, a web server for testing pages, and features for publishing your website to the Internet.
It includes IIS Express which is a development web server, ASP.NET and SQL Server Compact, which is an embedded database.
The web pages that you create using WebMatrix can be dynamic.
To program dynamic Web pages, you can use ASP.NET with the Razor syntax and with the C# or Visual Basic programming languages.
If you already have programming tools that you like, you can try the WebMatrix tools or you can use your own tools to create websites that use ASP.NET such as Visual Studio.
WebMatrix Installation
You can install the WebMatrix from the following link − https://www.microsoft.com/web/webmatrix/
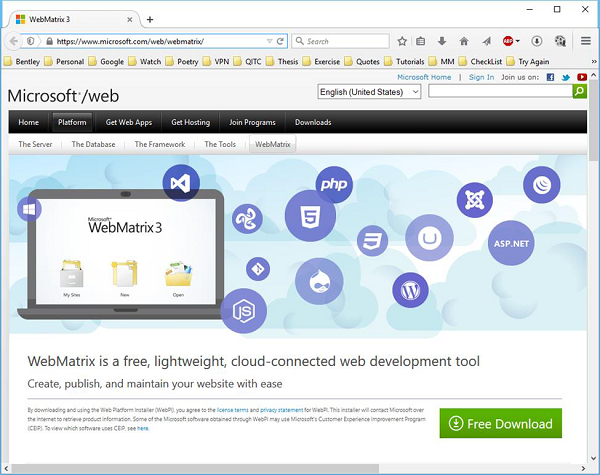
Download the WebMatrix and double click on the WebMatrixWeb.exe and it will start the Microsoft Web Platform Installer.
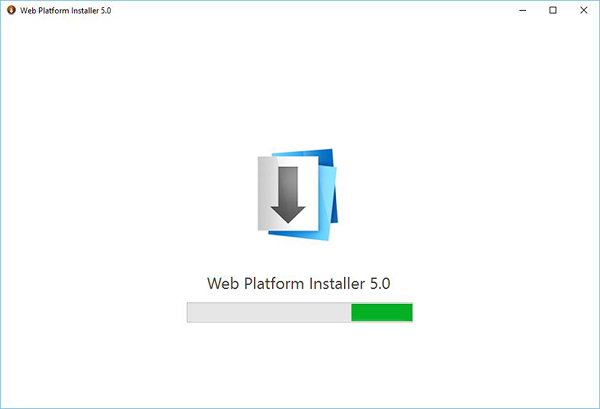
The Web Platform Installer appears, and now it is ready to install WebMatrix.
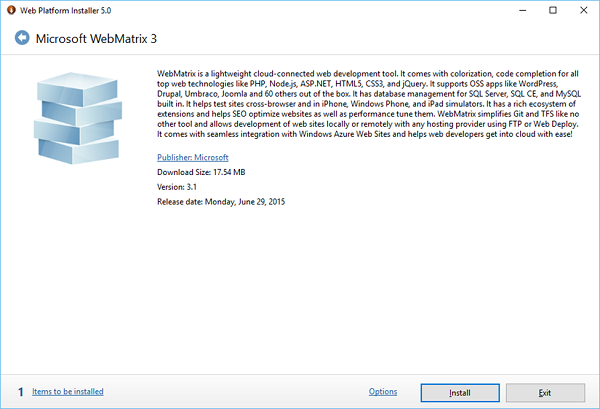
Click Install button to start the WebMatrix installation.

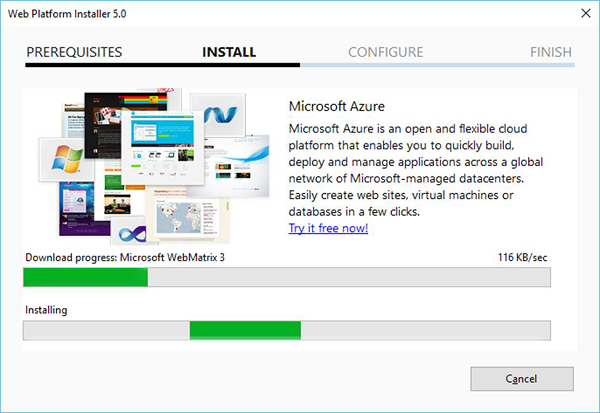
Click I Accept to continue the installation.
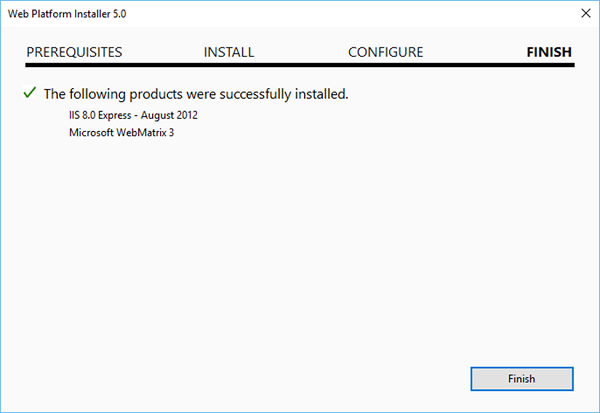
Once the installation is completed, you will see the following message.
Visual Studio Installation
Microsoft provides a free version of Visual Studio that also contains SQL Server and it can be downloaded from https://www.visualstudio.com/en-us/downloads/download-visual-studio-vs.aspx
Step 1 − Once downloading is completed, run the installer. It will display the following dialog.
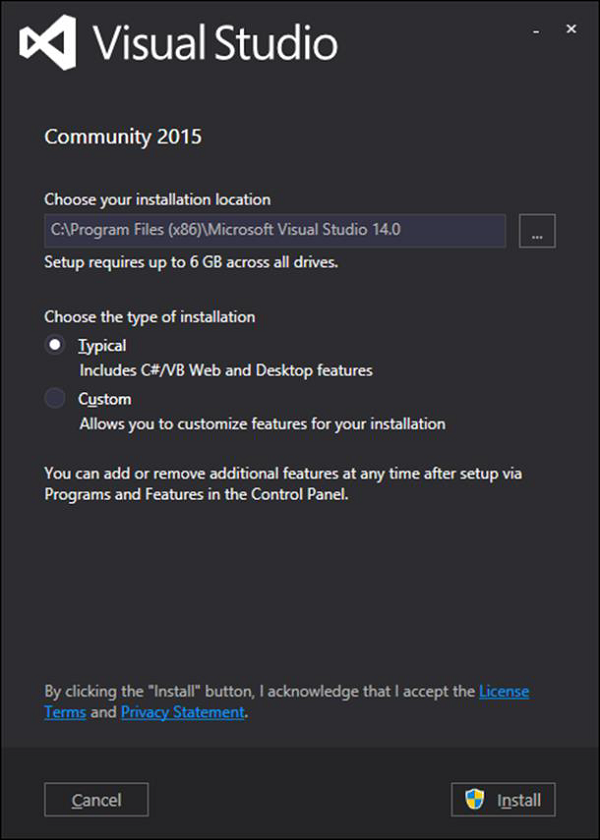
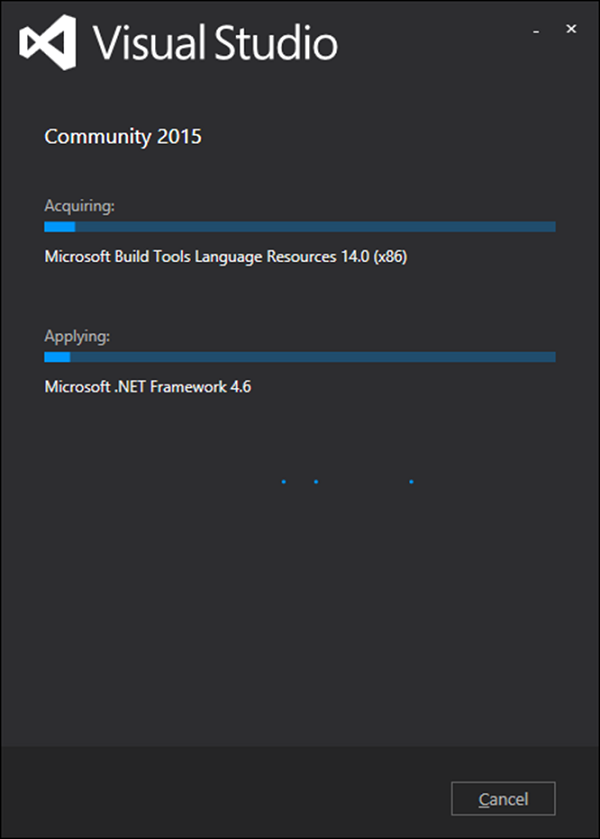
Step 2 − Click Install and it will start installation process.
Step 3 − Once the installation process is completed successfully you will see the following dialog.
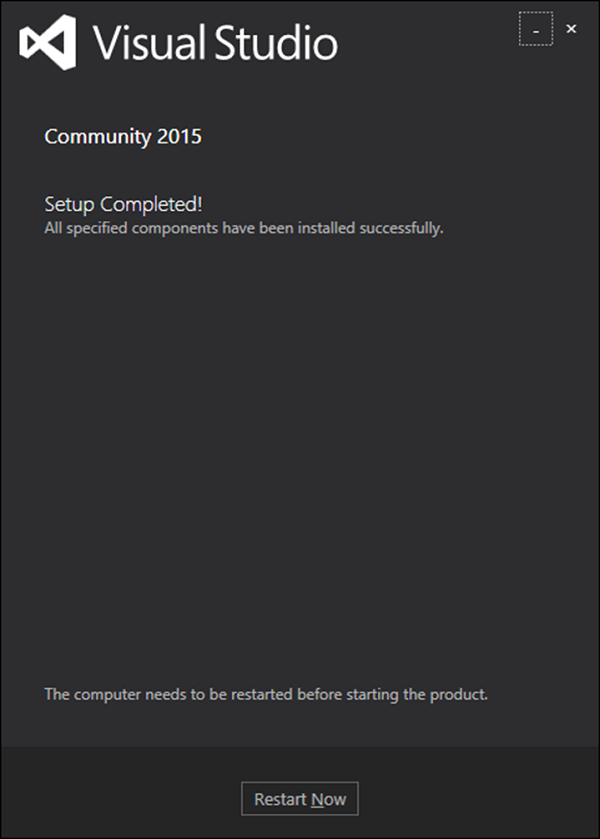
Step 4 − Close this dialog and restart your computer if required.
Step 5 − Now open Visual studio from the Start Menu, which will open a below dialog and it will take some time to open for the first time for preparation as shown in the following screenshot.

Step 6 − Once all this is done, you will see the main window of Visual studio.
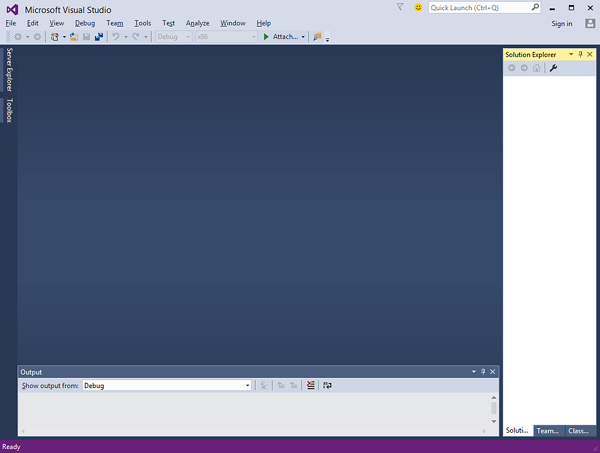
You can now start ASP.NET Web Pages development.