- Angular 2 Tutorial
- Angular 2 - Home
- Angular 2 - Overview
- Angular 2 - Environment
- Angular 2 - Hello World
- Angular 2 - Modules
- Angular 2 - Architecture
- Angular 2 - Components
- Angular 2 - Templates
- Angular 2 - Directives
- Angular 2 - Metadata
- Angular 2 - Data Binding
- CRUD Operations Using HTTP
- Angular 2 - Error Handling
- Angular 2 - Routing
- Angular 2 - Navigation
- Angular 2 - Forms
- Angular 2 - CLI
- Angular 2 - Dependency Injection
- Angular 2 - Advanced Configuration
- Angular 2 - Third Party Controls
- Angular 2 - Data Display
- Angular 2 - Handling Events
- Angular 2 - Transforming Data
- Angular 2 - Custom Pipes
- Angular 2 - User Input
- Angular 2 - Lifecycle Hooks
- Angular 2 - Nested Containers
- Angular 2 - Services
- Angular 2 Useful Resources
- Angular 2 - Questions and Answers
- Angular 2 - Quick Guide
- Angular 2 - Useful Resources
- Angular 2 - Discussion
Angular 2 - CLI
Command Line Interface (CLI) can be used to create our Angular JS application. It also helps in creating a unit and end-to-end tests for the application.
The official site for Angular CLI is https://cli.angular.io/
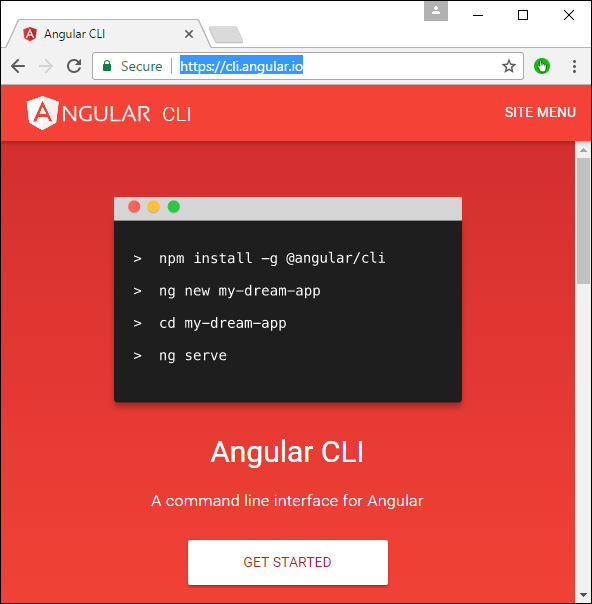
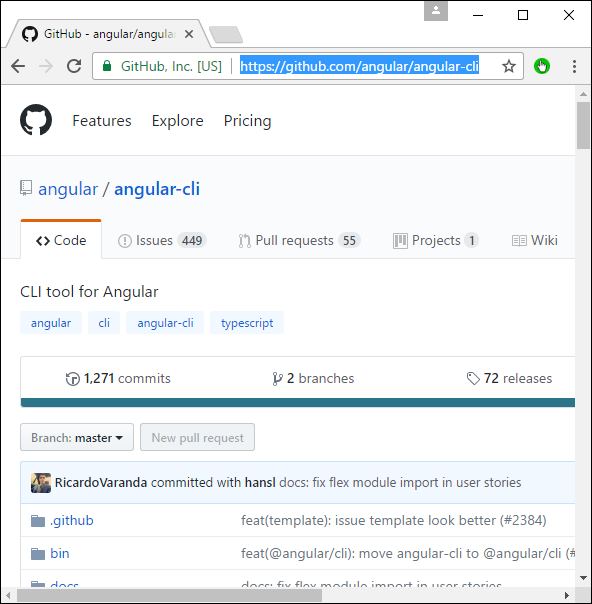
If you click on the Get started option, you will be directed to the github repository for the CLI https://github.com/angular/angular-cli
Let’s now look at some of the things we can do with Angular CLI.
Installing CLI
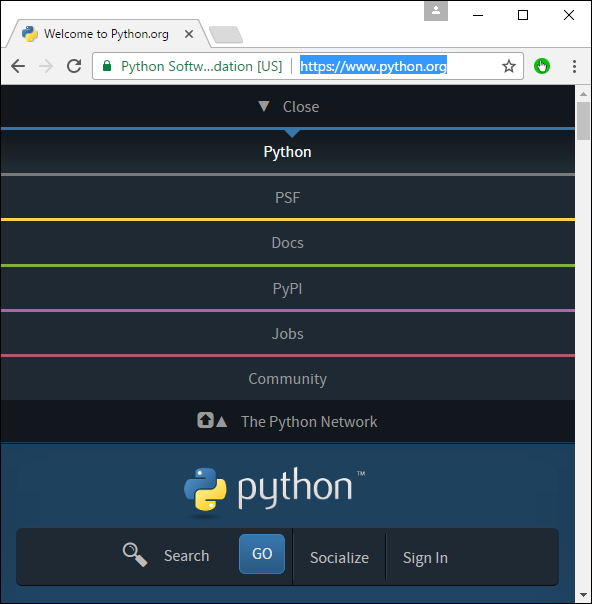
Note − Please ensure that Python is installed on the system. Python can be downloaded from the site https://www.python.org/
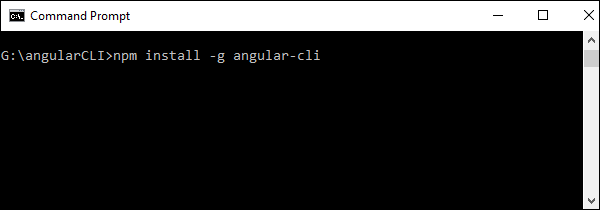
The first step is to install the CLI. We can do this with the following command −
npm install –g angular-cli
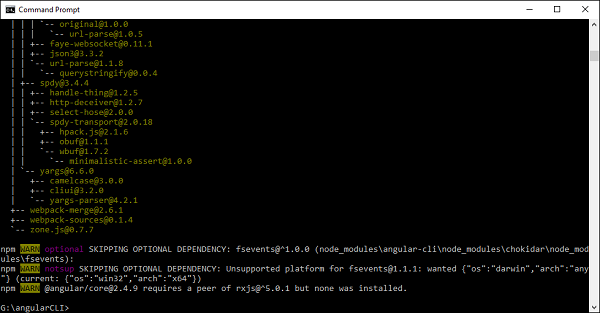
Now, create a new folder called angularCLI in any directory and issue the above command.
Once done, the CLI will be installed.
Creating a Project
Angular JS project can be created using the following command.
Syntax
ng new Project_name
Parameters
Project_name − This is the name of the project which needs to be created.
Output
None.
Example
Let’s execute the following command to create a new project.
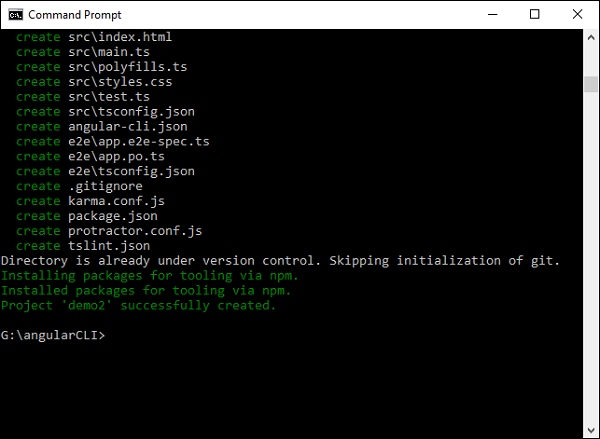
ng new demo2
It will automatically create the files and start downloading the necessary npm packages.
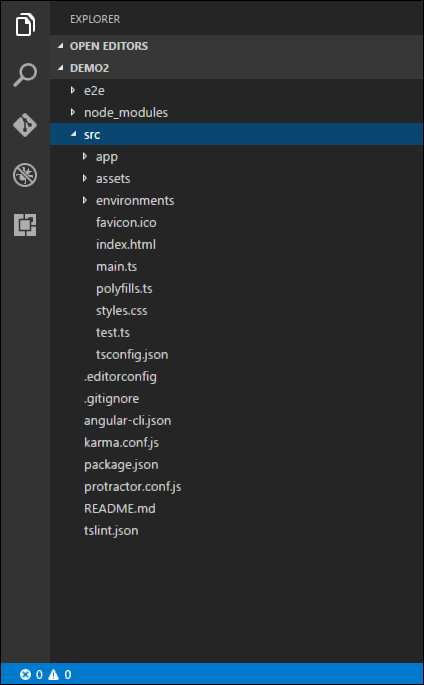
Now in Visual Studio code, we can open the newly created project.
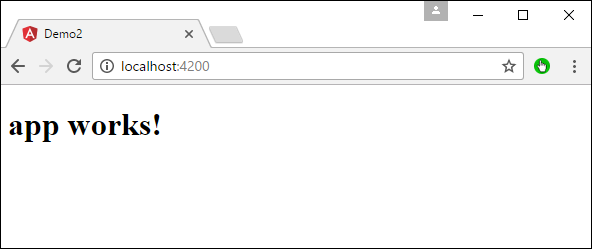
Running the project
To run the project, you need to issue the following command −
ng server
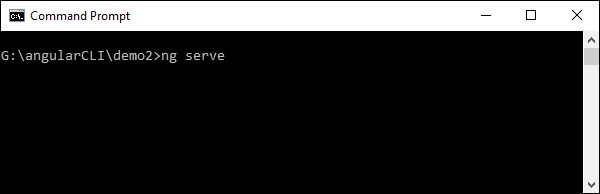
The default port number for the running application is 4200. You can browse to the port and see the application running.