- Adobe RoboHelp Tutorial
- Adobe RoboHelp Resources
- Adobe RoboHelp - Quick Guide
- Adobe RoboHelp - Resources
- Adobe RoboHelp - Discussion
Adobe RoboHelp - Styling for Style Sheets
In this chapter, we will understand how to style the style sheets.
Create a Style in the Styles Dialog Box
To create a style, right-click on the style sheet where you want the style in the Project Manager Pod and click on Edit. Click New and select a style type. By default, the new style is created with a default name such as Style1.
In the Styles dialog box, change the default name of the style without using any special characters or spaces in the name. In the Formatting section of the Styles dialog box, change the required options. You can preview the changes in the Paragraph Preview section.

For additional options, click Format and select from the following options −
Font − Select font families, size, and attributes, such as bold or italics.
Paragraph − Set up indents, line spacing and alignment.
Borders and Shading − Use the Borders tab to set border types, color, line thickness, and spacing. Use the Shading tab to set background color and image options.
DHTML Effects − Select which dynamic HTML effect to include and when to include it.
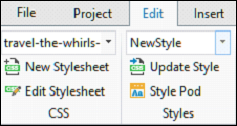
Create a Style using the Design Editor
You create styles on the fly using the Design Editor. To do so, select some text in the topic and apply some formatting. With the text still highlighted, type a style name in the Style list in the Edit tab and press Enter. In the dialog box that appears, click Create.