- Adobe InDesign CC Tutorial
- Adobe InDesign CC - Home
- Desktop Publishing - Introduction
- Popular DTP Software
- InDesign CC - Introduction
- InDesign CC - Workspace Basics
- Create the First Document
- InDesign CC - Page Management
- InDesign CC - Section Options
- InDesign CC - Text Frames
- InDesign CC - Story Editor
- Spellchecking Features
- InDesign CC - Find/Change Function
- InDesign CC - Import Images
- InDesign CC - Image Links
- InDesign CC - Edit Images
- InDesign CC - Image Fitting
- InDesign CC - Image Transparency
- InDesign CC - QR Codes
- Selection Tools & Fill Strokes
- Image Color & Transparency
- InDesign CC - Drop Shadows
- Special Effects to Objects
- InDesign CC - Eyedropper Tool
- Find/Change Feature for Objects
- InDesign CC - Swatches Panel
- InDesign CC - Color Panel
- InDesign CC - Gradients & Blends
- InDesign CC - Paths & Outlines
- InDesign CC - Stack Objects
- InDesign CC - Layers
- InDesign CC - Nest Objects
- InDesign CC - Align Objects
- Text Wrap & Anchor Objects
- InDesign CC - Object Transformation
- InDesign CC - Characters
- InDesign CC - Text Formatting
- InDesign CC - Paragraph Formatting
- Paragraph & Character Styles
- InDesign CC - Tables
- InDesign CC - Long Documents
- InDesign CC - Table of Contents
- InDesign CC - Interactive Documents
- InDesign CC - Ebook
- InDesign CC - Preflighting
- InDesign CC - Package Documents
- Print Documents & Booklets
- Export Documents as PDFs
- Selective Text Frame Export
- Word & InDesign
- Word File Import to InDesign
- Word To InDesign
- Photoshop & Illustrator Workflows
- Export InDesign Artwork
- Preserve Layers & Vectors
- Adobe InDesign CC Resources
- Adobe InDesign CC - Quick Guide
- Adobe InDesign CC - Resources
- Adobe InDesign CC - Discussion
Adobe InDesign CC - Table of Contents
The Table of Contents (ToC) is a very useful feature in InDesign not just to create a chapter-wise ToC, but also to list out basically anything that has a paragraph style.
To access the ToC options, go to the Layout menu and select Table of Contents… to open the Table of Contents dialog box. You might need to click More Options to reveal additional options in the dialog box.
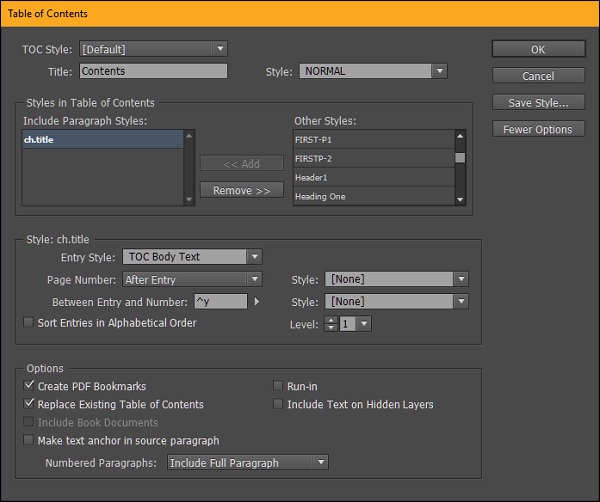
There are a lot of options in here but the most important thing is to add the paragraph style that resembles the chapter headings. In the above example, we have selected the ch.title from the Other Styles area and pressed the <<Add button to add the style to the Include Paragraph Styles area.
Next, define the entry style by selecting the appropriate style for your ToC in the Entry Style dropdown menu. The entry style defines how the ToC labels look like. If you don’t define the entry style, you will be having the original paragraph style in your ToC, which might not look good.
Select the After Entry option in the Page Number dropdown menu to keep the page numbers after the chapter entry. You also need to specify the code between the chapter entry and the page number. The Right Indent Tab is specified by the code ^y. If you don’t know the code, you can click the small right arrow beside the Between Entry and Number box. The Right Indent Tab ensures that the page numbers align perfectly at the end of the right side of the text frame.
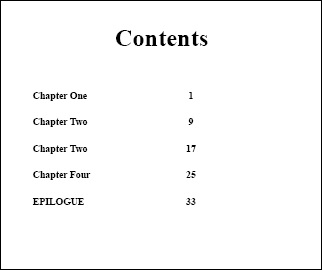
Review the options and click OK to see the ToC. The above example shows a very basic ToC. You can of course go ahead and customize the paragraph styles that you want as discussed earlier and use them in the ToC to get all sorts of custom ToCs.