- Adobe InDesign CC Tutorial
- Adobe InDesign CC - Home
- Desktop Publishing - Introduction
- Popular DTP Software
- InDesign CC - Introduction
- InDesign CC - Workspace Basics
- Create the First Document
- InDesign CC - Page Management
- InDesign CC - Section Options
- InDesign CC - Text Frames
- InDesign CC - Story Editor
- Spellchecking Features
- InDesign CC - Find/Change Function
- InDesign CC - Import Images
- InDesign CC - Image Links
- InDesign CC - Edit Images
- InDesign CC - Image Fitting
- InDesign CC - Image Transparency
- InDesign CC - QR Codes
- Selection Tools & Fill Strokes
- Image Color & Transparency
- InDesign CC - Drop Shadows
- Special Effects to Objects
- InDesign CC - Eyedropper Tool
- Find/Change Feature for Objects
- InDesign CC - Swatches Panel
- InDesign CC - Color Panel
- InDesign CC - Gradients & Blends
- InDesign CC - Paths & Outlines
- InDesign CC - Stack Objects
- InDesign CC - Layers
- InDesign CC - Nest Objects
- InDesign CC - Align Objects
- Text Wrap & Anchor Objects
- InDesign CC - Object Transformation
- InDesign CC - Characters
- InDesign CC - Text Formatting
- InDesign CC - Paragraph Formatting
- Paragraph & Character Styles
- InDesign CC - Tables
- InDesign CC - Long Documents
- InDesign CC - Table of Contents
- InDesign CC - Interactive Documents
- InDesign CC - Ebook
- InDesign CC - Preflighting
- InDesign CC - Package Documents
- Print Documents & Booklets
- Export Documents as PDFs
- Selective Text Frame Export
- Word & InDesign
- Word File Import to InDesign
- Word To InDesign
- Photoshop & Illustrator Workflows
- Export InDesign Artwork
- Preserve Layers & Vectors
- Adobe InDesign CC Resources
- Adobe InDesign CC - Quick Guide
- Adobe InDesign CC - Resources
- Adobe InDesign CC - Discussion
Adobe InDesign CC - Story Editor
InDesign has a nifty feature that allows you to edit text without any distractions or the need to zoom in and zoom out of text frames. This feature is called the Story Editor which you can invoke by selecting any text frame and going to the Edit menu and clicking Edit in Story Editor or simply by pressing Ctrl + Y on Windows or Command + Y on Mac.
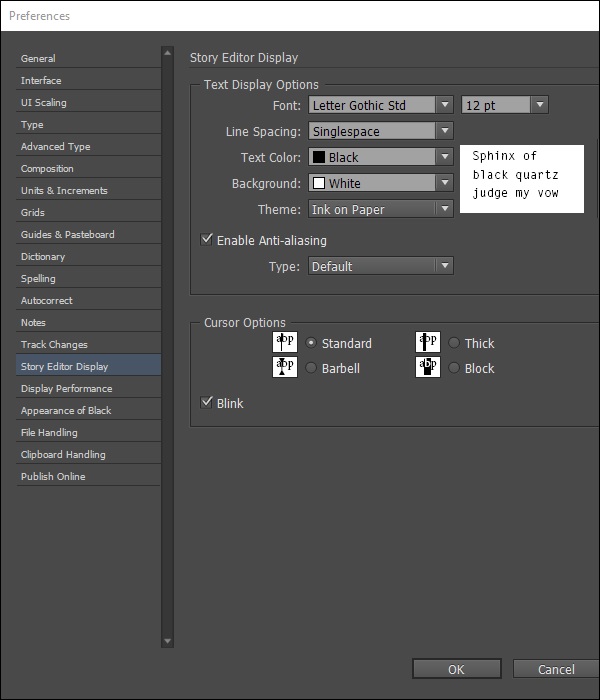
The Story Editor presents an easy to read, alternative layout for editing text. The default font in the Story Editor may put off a lot of people but it can be changed in the Story Editor Display section in Preferences. In this section, you can change the font, line spacing, text color, background, and the theme.
Note − The changes are limited only to the Story Editor window and will not affect the font in the actual text frame.
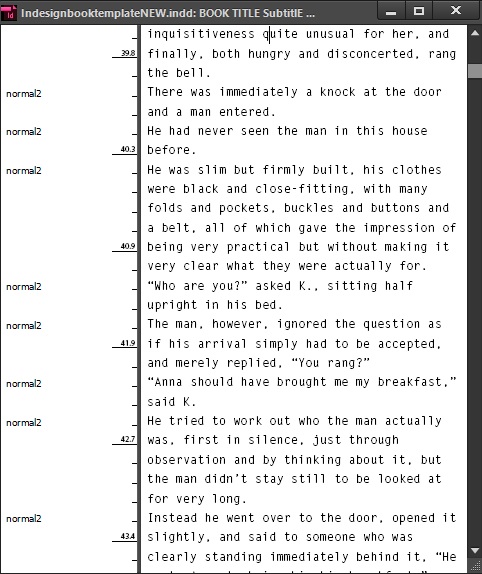
Changes made in the Story Editor reflect immediately in the text frame. The Story Editor also shows the entire text even if the actual text frame has only limited text in it.
Another ease of using the Story Editor can be seen by opening the Info panel, going to the Window menu, and selecting Info.
The Info panel shows precisely the number of words and characters selected and can be very useful when working with large amounts of text.
